Expo React Native TypeScript Setup
Master your Expo React Native TypeScript setup with practical guidance on architecture, strict typing, performance, and avoiding common build errors.
 Rishav
The most common advice about Expo React Native TypeScript is incomplete: add TypeScript, enable strict mode, and start building. That gets you past the first screen, but it doesn't prepare you for the friction that appears when Metro resolves packages differently, libraries publish incompatible declarations, or the New Architecture changes the assumptions behind native modules.
Modern Expo development treats TypeScript as part of the build system, not just a developer convenience. Your compiler settings, module syntax, folder boundaries, package exports, and architecture choices all influence whether the project remains analyzable and maintainable. A productive setup therefore starts with fewer shortcuts, clearer boundaries, and a deliberate upgrade policy.
Table of Contents
- Why TypeScript is Now the Expo Default
- Initializing a Modern TypeScript Project
- Structuring Folders for Long-Term Sanity
- Performance and the New Architecture
- Accelerating Development with Starter Kits
- Navigating Common Build and Type Errors
- Shipping Your App with Confidence
Why TypeScript is Now the Expo Default
TypeScript used to be presented as a safety net for misspelled properties and incorrect function arguments. That description is now too narrow for an Expo application. Expo's JavaScript interface is written in TypeScript, and its documentation recommends strict compiler settings because types describe the shape of the application before Metro produces a bundle. Expo's TypeScript guidance also recommends ESM syntax, using import and export, because Expo CLI can statically analyze that module graph for optimizations such as tree shaking.
That distinction matters in a large app. A type checker can stop a navigation parameter mismatch, but static module analysis can also help identify which code is reachable. In practice, this changes how you should think about TypeScript. It isn't only about catching a typo after you write it. It helps the toolchain understand dependencies before runtime, which can reduce dead code and expose mismatches while the project is still being built.
Practical rule: Treat
tsconfig.jsonand module syntax as build configuration, not personal editor preferences.
Strict settings create useful pressure
Strict mode makes weak boundaries visible. Untyped API responses, optional values that are treated as guaranteed, navigation routes with inconsistent parameters, and components that accept overly broad objects all become explicit problems. That pressure is healthy, provided you fix the underlying boundary instead of silencing the compiler with any.
The productive pattern is to type data when it enters your application. Validate or narrow remote responses, define the state shape used by a feature, and pass focused props into components. Avoid carrying a loosely typed server response through several screens and hoping the final component will know what it contains.
ESM is part of the optimization story
Expo's recommendation to prefer ESM has a practical consequence. require and module.exports can cancel the static optimizations Expo CLI relies on, while import and export preserve a graph that tools can inspect. This doesn't mean every legacy package can be replaced immediately, but it does mean new code should use ESM consistently and dependencies should be checked before they become central to the bundle.
The result is a TypeScript-first workflow where correctness and packaging reinforce each other. The compiler catches invalid contracts, ESM keeps the dependency graph visible, and the bundler gets better information about code that can be removed.
Initializing a Modern TypeScript Project
A clean project starts with the standard Expo scaffold, but the command itself isn't the setup. The important decisions happen immediately afterward, before screens, state, and API clients spread through the repository.
Begin with create-expo-app, select a template that matches your navigation needs, and run the project on both target platforms as soon as the initial screen loads. Then inspect the generated tsconfig.json, package scripts, Expo configuration, and entry points. Don't replace working defaults blindly. First identify which settings the current SDK expects, then add only the conventions your team will maintain.
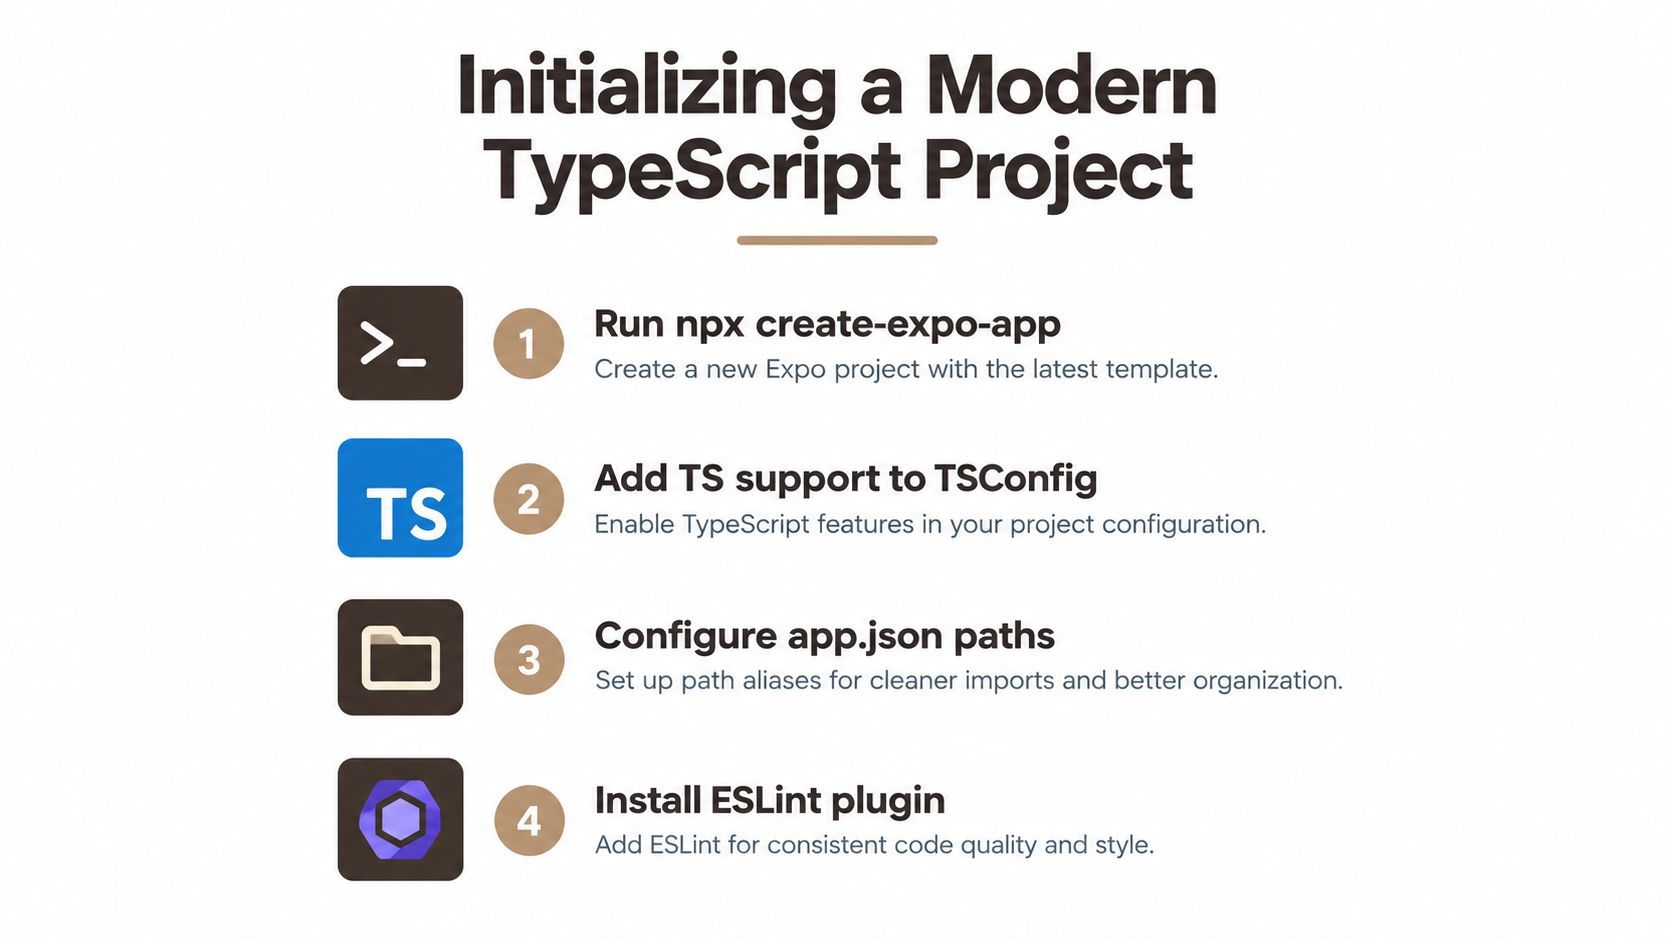 An infographic outlining four steps to initialize a modern TypeScript project using Expo React Native tools.
Configure the compiler before the application grows
Use strict compiler behavior as the baseline. Keep nullability checks enabled, avoid implicit any, and make unresolved imports fail during development rather than after a platform build. Path aliases can make imports readable, but they should map to stable source boundaries, not hide a tangled dependency graph.
A reasonable structure might distinguish application code from generated files and platform-specific configuration. Whatever alias convention you choose, test it through the same Metro and TypeScript paths your CI uses. An alias that works in the editor but fails in Metro is worse than a relative import because it creates false confidence.
For a practical introduction to the initial workflow, compare your setup with this Expo getting started guide. Then add the tools that enforce consistency:
- Linting: Configure ESLint for React, React Native, hooks, and TypeScript rules. Make unused imports and unsafe escapes visible.
- Formatting: Use Prettier for mechanical formatting, but don't ask it to decide architectural boundaries.
- Scripts: Keep type checking, linting, and tests available through predictable package scripts.
- Editor settings: Make the editor use the workspace TypeScript version so local diagnostics match CI.
AI-assisted development needs the same constraints. Cursor plugins or code-generation tools can produce a screen quickly, but they won't reliably preserve your route contracts, state boundaries, or package conventions without explicit project rules. Give the tool a short architectural guide, require it to run the type checker, and ask for small changes rather than broad rewrites.
The video below can supplement the written setup process:
A generated component that compiles is not necessarily a component that belongs in your app. Review imports, remove speculative abstractions, and make the type checker part of the acceptance criteria for every generated change.
Structuring Folders for Long-Term Sanity
A folder structure should answer a developer's first question: where does the behavior for this product area live? If authentication types are in one directory, API calls in another, hooks somewhere else, and screens scattered across route folders, every change becomes a search exercise. TypeScript won't repair that organization by itself.
A domain-driven layout gives each feature a clear home while preserving a small shared layer:
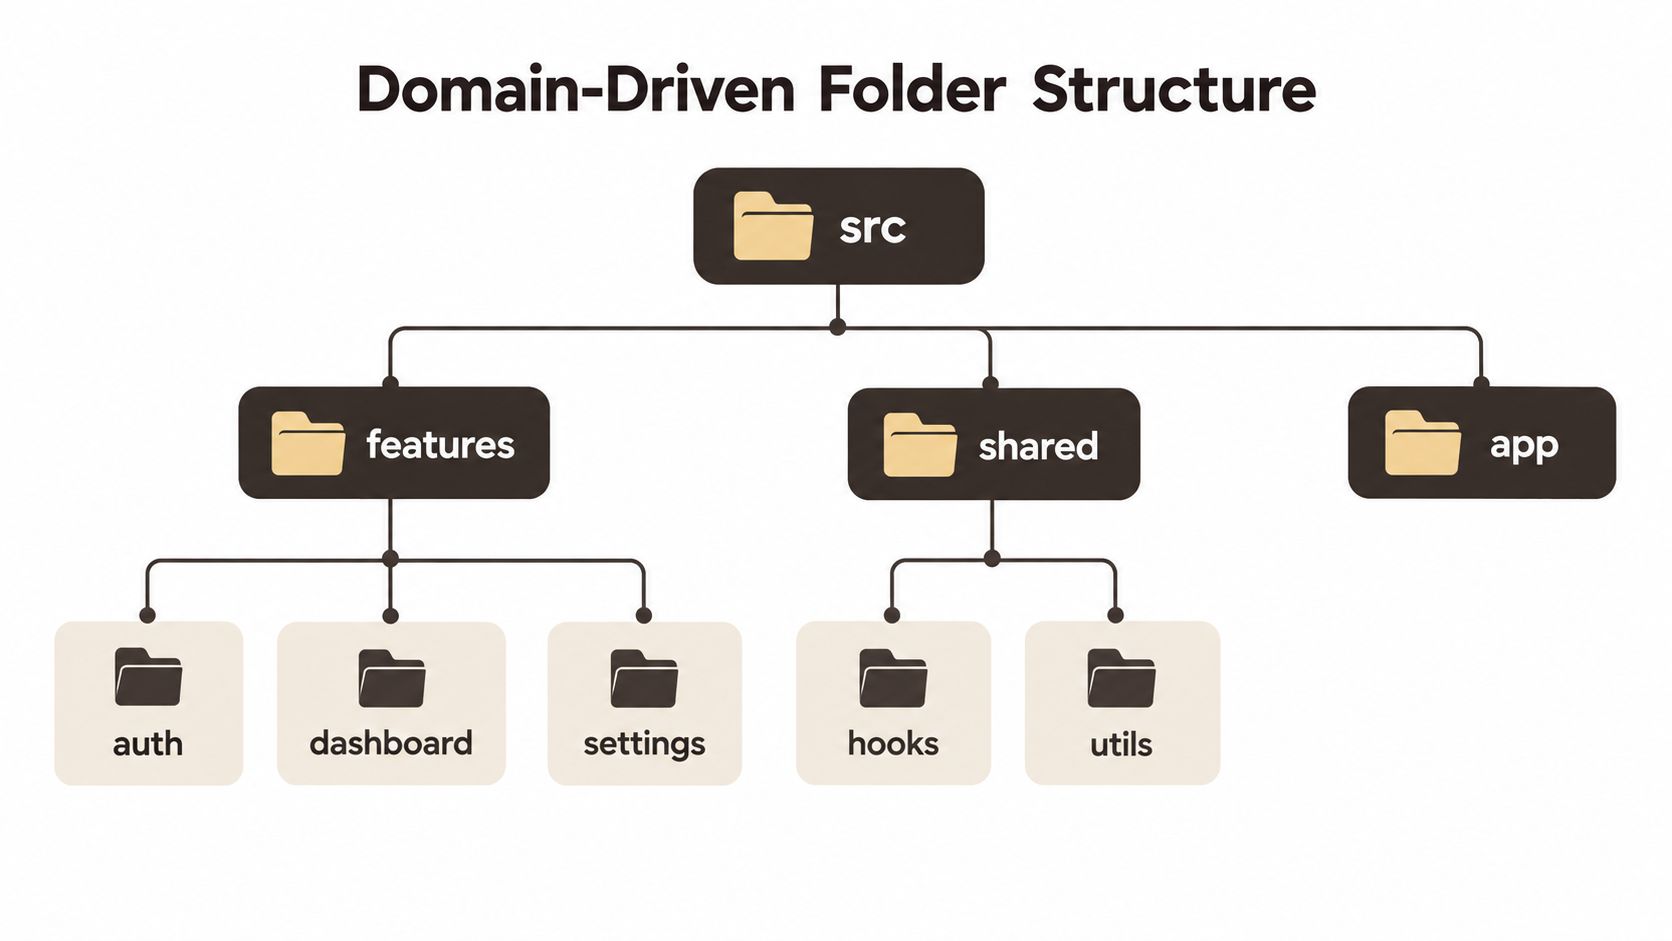 A folder structure diagram for domain-driven design, showing src, features, shared, and app directories.
src/
  app/
    navigation/
    providers/
  features/
    auth/
      api/
      components/
      hooks/
      screens/
      types.ts
    dashboard/
      api/
      components/
      hooks/
      screens/
      types.ts
    settings/
      components/
      screens/
      types.ts
  shared/
    hooks/
    utils/
    ui/
Keep domain behavior close to domain types
A feature folder should contain the contracts and behavior needed to understand that feature. For example, auth/types.ts can define the user and session shapes, auth/api can own authentication requests, and auth/hooks can expose the state that screens consume. A screen shouldn't know how tokens are persisted or how a request is retried.
This arrangement makes strict typing more useful. The API layer translates external data into an application-specific shape, hooks expose a narrower contract, and UI components receive props that reflect what they need rather than an entire server object.
Reserve shared code for proven reuse
The shared directory is where many projects lose discipline. Developers move code there because it feels reusable, then change it for one feature and accidentally affect several others. Put a helper in a feature first. Promote it to shared only after multiple domains need the same behavior and the interface is stable.
The app directory should coordinate global concerns, such as providers, navigation, persistence bootstrapping, and error boundaries. It shouldn't become a second miscellaneous folder. Navigation files can define route composition, while feature screens own feature behavior.
Use folder structure best practices for React Native projects as a reference point, but adapt the boundaries to your product. A small app doesn't need layers for every theoretical concern. It does need a structure that prevents screens from becoming the place where networking, state transitions, formatting, and navigation all accumulate.
Performance and the New Architecture
The New Architecture changes the performance baseline, but it doesn't make every Expo application fast automatically. Expo projects use Hermes by default, and Expo SDK 53 and later fully support Fabric and TurboModules. Expo's published benchmarks report roughly 40% faster cold starts, 33% faster first render, and Hermes diffed update bundles averaging 58% smaller than the full bundle they replaced. Expo's performance documentation provides the context for those measurements.
Those figures are useful directionally, not as a promise for every app. Startup behavior depends on the amount of JavaScript executed, the rendering tree, device conditions, and the work performed during initialization. A project can adopt the New Architecture and still spend its startup budget parsing a large dependency graph or rendering a screen that does too much at once.
What JSI changes
Expo Modules use JSI rather than the legacy bridge and can handle hundreds of thousands of native method calls per second, according to Expo's technical documentation. That means native-call overhead is less likely to be the first place to investigate in a modern Expo app.
The practical debugging order should start elsewhere:
- JS-thread work: Look for expensive transformations, synchronous storage access, large loops, and work performed during render.
- Rendering patterns: Check unnecessary parent re-renders, unstable props, oversized lists, and components that combine unrelated state.
- Bundle composition: Inspect large dependencies, accidental imports, and modules loaded before the first useful screen.
- Native integration: Investigate native modules when profiling shows they are involved, not because the old bridge was historically a common bottleneck.
TypeScript supports performance indirectly
TypeScript doesn't make a component render faster. It can make performance work easier by clarifying ownership and making accidental data flows more visible. Narrow feature contracts discourage passing broad objects through the entire tree, while ESM imports preserve the static graph that Expo CLI uses for analysis.
The New Architecture also changes the cost of outdated assumptions. A library may compile in a legacy setup but fail under Fabric, TurboModules, or stricter package exports. Test the libraries that sit on your critical path, especially navigation, storage, animations, and native device integrations, before committing your architecture around them.
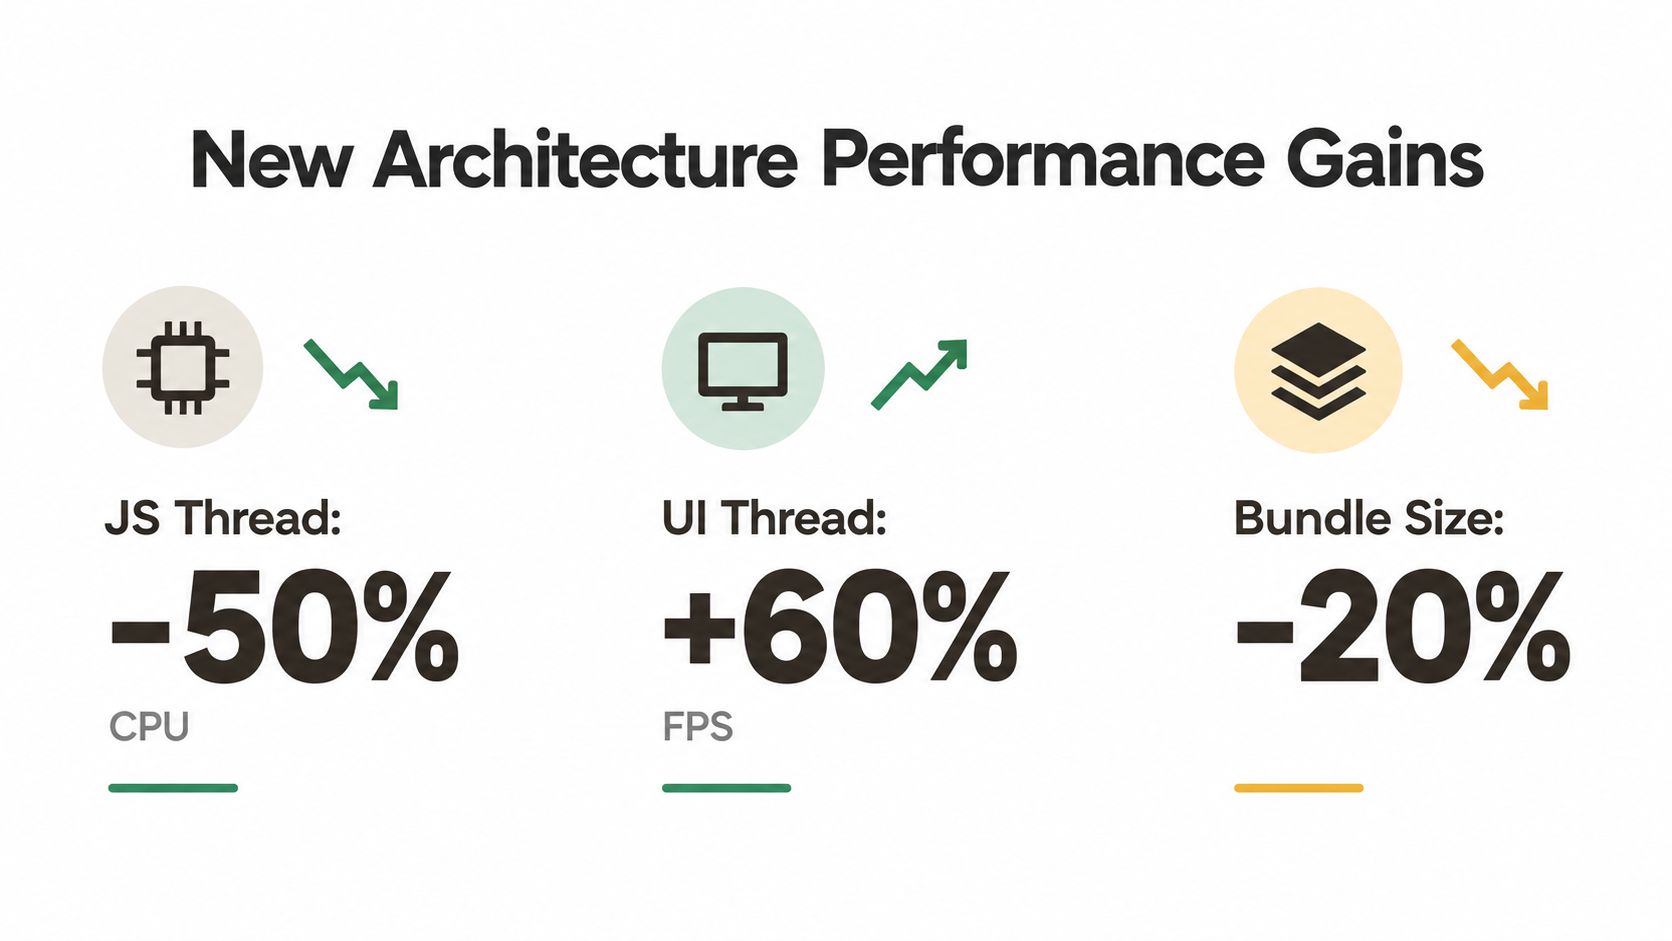 An infographic showing the performance gains of a new software architecture, including CPU, FPS, and bundle size improvements.
The right conclusion isn't that performance is solved. It's that the old explanation is often wrong. Profile JavaScript execution, rendering, and bundle composition before blaming native-call throughput.
Accelerating Development with Starter Kits
Building from scratch gives you maximum control, but it also makes your team responsible for every integration decision. Authentication, navigation, state management, API boundaries, environment handling, and AI tooling each look manageable in isolation. Together, they create a long period where the product is mostly infrastructure.
An opinionated starter kit reverses that trade-off. You accept conventions in exchange for a working foundation, then spend your time changing the parts that differentiate the product.
| Approach | Useful when | Main cost |
|---|---|---|
| Custom Expo project | You have unusual infrastructure or strict internal standards | You own integration and upgrade decisions |
| Minimal template | You want a small surface area and can wire services yourself | Boilerplate returns as features expand |
| Opinionated starter kit | You need authentication, navigation, state, and API foundations together | You must understand and sometimes adapt its conventions |
Decide based on the next irreversible decision
Build your own stack when your backend architecture, identity model, or compliance requirements are still changing. A minimal base makes it easier to avoid migrating away from assumptions you didn't choose.
Choose a prepared foundation when the common pieces are already settled and speed matters more than designing each layer independently. AppLighter is one example. It provides Expo and React Native templates with TypeScript, authentication, navigation, state management, AI integrations, a Vibecode DB setup with a Supabase adapter, and a Hono/TypeScript edge-ready API layer. Its value is the wiring between those pieces, not merely the presence of a starter screen.
For teams using AI tools, the repository's rules matter as much as its dependencies. Cursor plugins and Claude Code rules can help generated code follow established patterns, but only if the project documents its routes, folder boundaries, data contracts, and validation commands. A starter kit reduces repeated setup; it doesn't remove the need for engineering judgment.
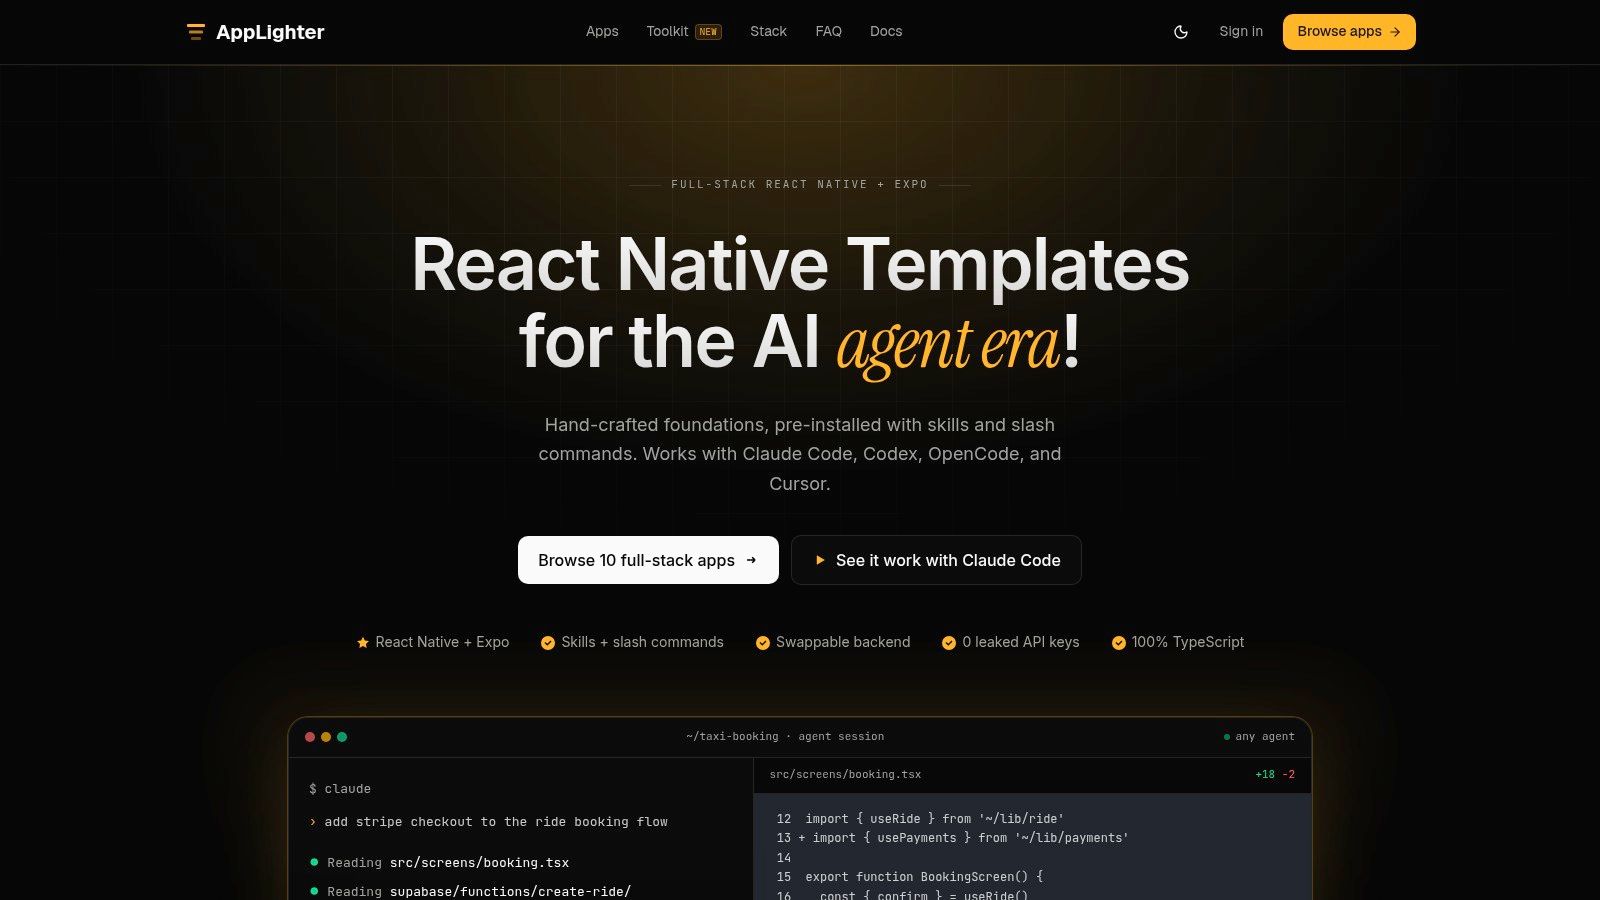 Screenshot from https://www.applighter.com
Before adopting any template, inspect its upgrade path and remove components you won't own. You should be able to explain how authentication state reaches navigation, where API types are defined, how environment values enter the app, and which commands validate a change. If those answers are unclear, the template has shifted complexity rather than removed it.
A useful React Native Expo starter kit evaluation should focus on ownership, not screenshots. The fastest foundation is the one your team can modify without fighting invisible conventions.
Navigating Common Build and Type Errors
The hardest failures in a modern Expo TypeScript project often have little to do with TypeScript syntax. A component can be correctly typed and still fail because Metro resolves a package through an unexpected export, two React copies enter the dependency tree, or a library's declaration files describe an API that doesn't match the installed runtime.
Expo SDK 53 raised the recommended TypeScript version to 5.8.3, and Expo warned that React duplication and Metro's newer ES module resolution can break builds. The SDK 53 changelog is worth reading during an upgrade because these failures often appear as confusing type or runtime errors rather than as a clear incompatibility message.
Diagnose the layer before changing code
When the error appears, classify it first:
- Compiler failure: The TypeScript program rejects a type, import, or configuration setting.
- Resolver failure: Metro can't select a package entry or interpret an exports field.
- Runtime failure: The bundle builds, but the app crashes when a module or component executes.
- Duplicate dependency failure: React or another foundational package is installed through incompatible paths.
This classification prevents the common reaction of adding a cast to a resolver problem. as unknown as may silence an error, but it can't make Metro select the right file or remove a duplicate React installation.
A repeatable repair sequence
Start with the package manager's dependency tree and check whether foundational packages occur more than once. Compare the installed React and React Native versions with the Expo SDK's expected versions, then use the Expo-supported installation path for Expo packages rather than hand-editing versions.
Next, inspect the failing package's exports and module declarations. A package may expose different files for ESM, CommonJS, native, and browser consumers. Metro's resolution behavior can reveal an incompatibility that worked under an older setup, particularly when a library's declarations point to a path that its runtime package doesn't publish.
Finally, reduce the problem. Create a small import reproducer, remove unrelated packages, and test the library in a clean branch. If the issue is a declaration mismatch, isolate the boundary with a local adapter and a precise type rather than weakening the entire project.
React Native 0.80 also introduced a stricter TypeScript API, while its release notes stated that Expo support would arrive in a canary release. That kind of timing is why upgrades should be treated as planned engineering work. Read the SDK and React Native release notes, verify third-party libraries, and upgrade one foundational layer at a time.
Shipping Your App with Confidence
A TypeScript-first Expo project is ready to ship when the team can explain its boundaries and reproduce its build, not merely when the simulator opens. Before release, run the type checker, lint rules, tests, production builds, and representative device checks. Review the first screen's startup work, inspect bundle composition, and verify that over-the-air updates are configured for the runtime versions they target.
Keep the final checklist short enough that people will use it:
- Contracts: Remote data is narrowed before it enters feature state.
- Navigation: Routes and parameters are typed at their boundary.
- Resolution: ESM imports, package exports, and aliases work in Metro and CI.
- Architecture: Critical native libraries have been tested with the New Architecture.
- Performance: Startup, rendering, and bundle behavior have been measured on representative devices.
- Upgrades: SDK changes are scheduled, tested, and reversible.
Expo SDK 52, released in November 2024, aligned with React Native 0.76 and made the New Architecture enabled by default in new projects, while Expo described it as ready for most apps to evaluate for production. Expo's SDK 52 upgrade guidance illustrates why teams need an upgrade habit rather than a once-a-year migration project.
The strategic advantage of Expo React Native TypeScript isn't that it eliminates complexity. It puts more of that complexity into explicit compiler contracts, analyzable modules, and standardized platform tooling. Teams that keep those boundaries clear can adopt the modern architecture without allowing every dependency upgrade to become an application rewrite.
If you want to start from a prepared Expo foundation, AppLighter provides TypeScript-based mobile templates with authentication, navigation, state management, API infrastructure, and AI-assisted development tooling already connected. Review the conventions, adapt the boundaries to your product, and use it to move faster without skipping the strict typing and upgrade discipline this stack requires.