Build App for iOS with Expo from Setup to App Store
Learn to build app for iOS with Expo and React Native — setup, signing, EAS builds, TestFlight and App Store submission made simple.
 Damini
You have an app idea, a working Expo screen, and a launch date that keeps moving because the difficult work starts after the interface looks finished. Signing certificates, native dependencies, provisioning profiles, TestFlight metadata, launch performance, and App Store review can turn a quick prototype into a release-engineering project.
That's the reality of building an app for iOS in 2026. Coding matters, but a reliable path from project setup to an approved App Store submission matters just as much. This guide follows that path with Expo, React Native, EAS, and a practical preflight process designed to reduce avoidable failures.
Table of Contents
- Why Building for iOS Still Pays Off in 2026
- What You Need Before You Build Your iOS App
- How to Build and Sign Your Expo App for iOS
- Testing With TestFlight and Submitting to App Store Connect
- Polishing Launch Performance and Avoiding Common Pitfalls
- Your Next Steps to Ship Faster With AppLighter
Why Building for iOS Still Pays Off in 2026
An indie founder can move from an Expo prototype to a working iPhone build quickly. The release becomes harder when real devices, production users, signing, native dependencies, and App Store review enter the picture. A feature-complete screen is only one part of shipping. The rest is a release-engineering workflow that must hold together under Apple's rules.
Apple reports $1.4 trillion in developer billings and sales in 2025 through its App Store ecosystem (Apple's App Store ecosystem report). The platform is crowded, with about 2.42 million apps and games, $117.6 billion in consumer spending, 36.6 billion downloads, and 28.2 billion app downloads in 2025. Those figures make the opportunity clear, while the crowded market raises the cost of weak onboarding, unstable builds, and incomplete review preparation.
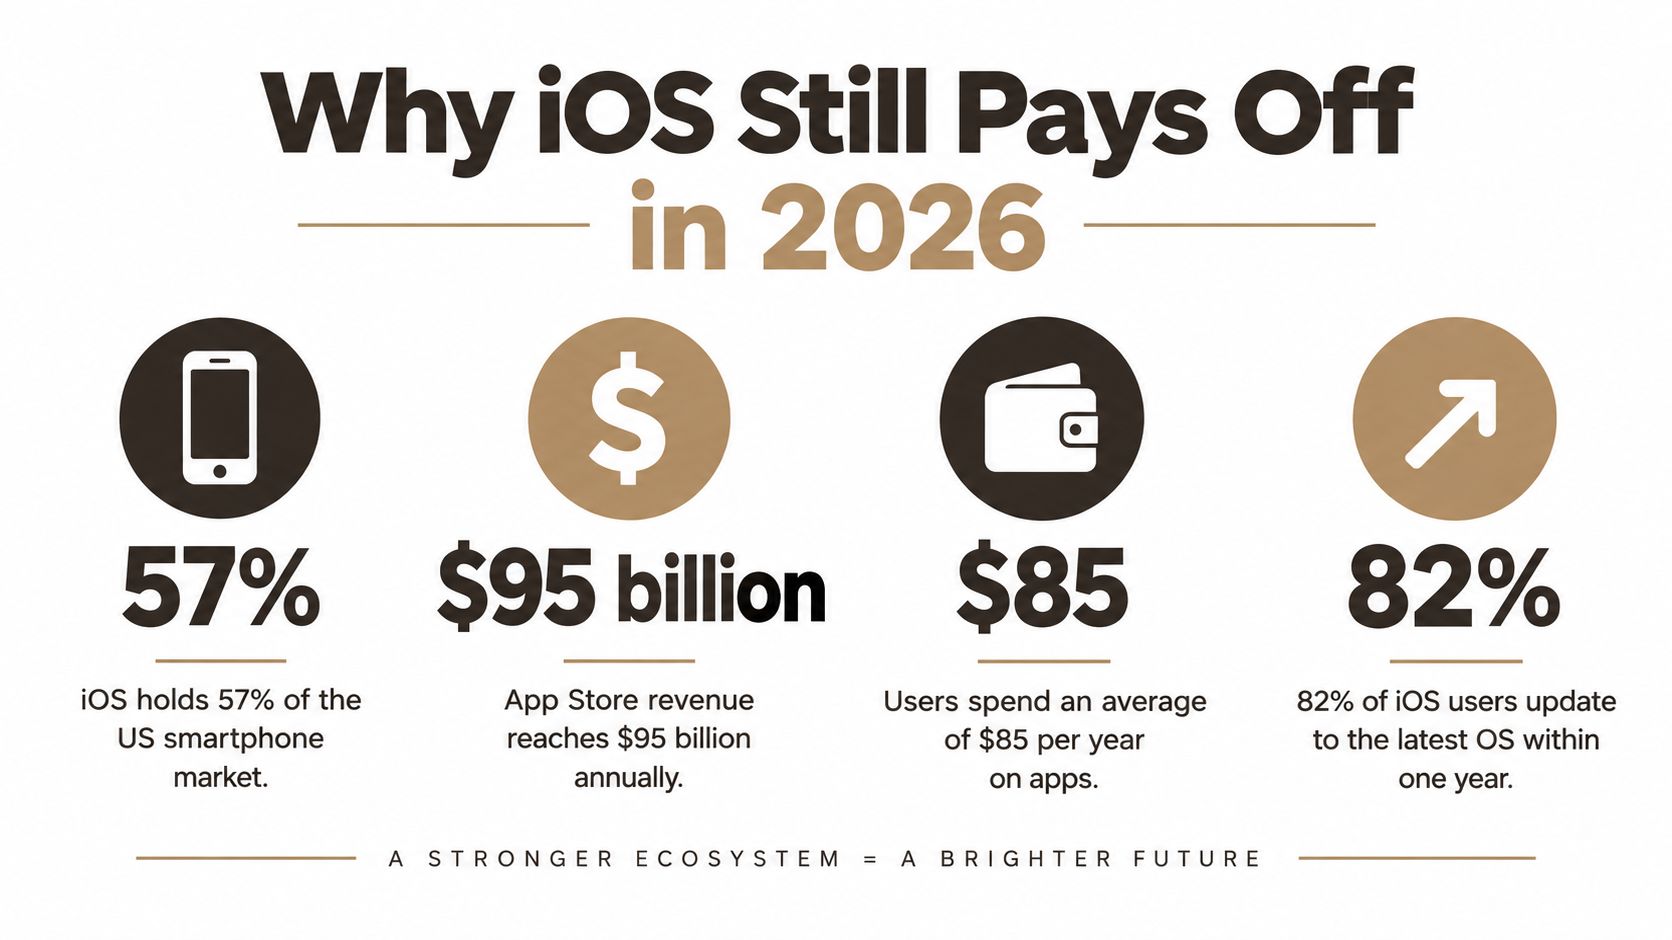 An infographic titled Why iOS Still Pays Off in 2026 showing market statistics and app revenue metrics.
The platform is mature, but expectations are higher
Apple introduced Swift at WWDC on June 2, 2014, for building iOS and OS X apps, moving Apple development beyond an Objective-C-centered workflow (TechCrunch's coverage of Swift's launch). Expo developers can keep most screens in JavaScript and React Native, but their app still depends on Apple's SDK behavior, signing system, native modules, CocoaPods integration, and review requirements.
That division shapes the build process. Expo and EAS reduce setup and build work, while Apple determines how the binary runs and whether it reaches customers. AppLighter can remove repetitive starter boilerplate, but it does not replace identifiers, credentials, testing, or release checks.
Practical rule: Treat the iOS build as a product delivery system, not a final export button.
Plan the bundle identifier, native dependencies, privacy declarations, CI build path, test distribution, and review notes before launch week. Keep a preflight checklist for permissions, subscriptions, login flows, and device behavior. This reflects building an app for iOS in 2026. Faster shipping comes from resolving signing and configuration uncertainty early, not from postponing release decisions until the interface looks finished.
What You Need Before You Build Your iOS App
Start by separating account access, local tooling, and project configuration. Missing any one of these can leave you with a perfectly functional JavaScript app that you can't install or submit.
You'll need an Apple Developer account for device distribution and App Store publishing. You'll also need access to a Mac with Xcode installed if you plan to run Apple's local simulator, inspect native projects, or troubleshoot native build failures directly. EAS can run builds in the cloud, but a local Mac remains valuable for diagnosing Xcode-specific errors and checking behavior in the simulator.
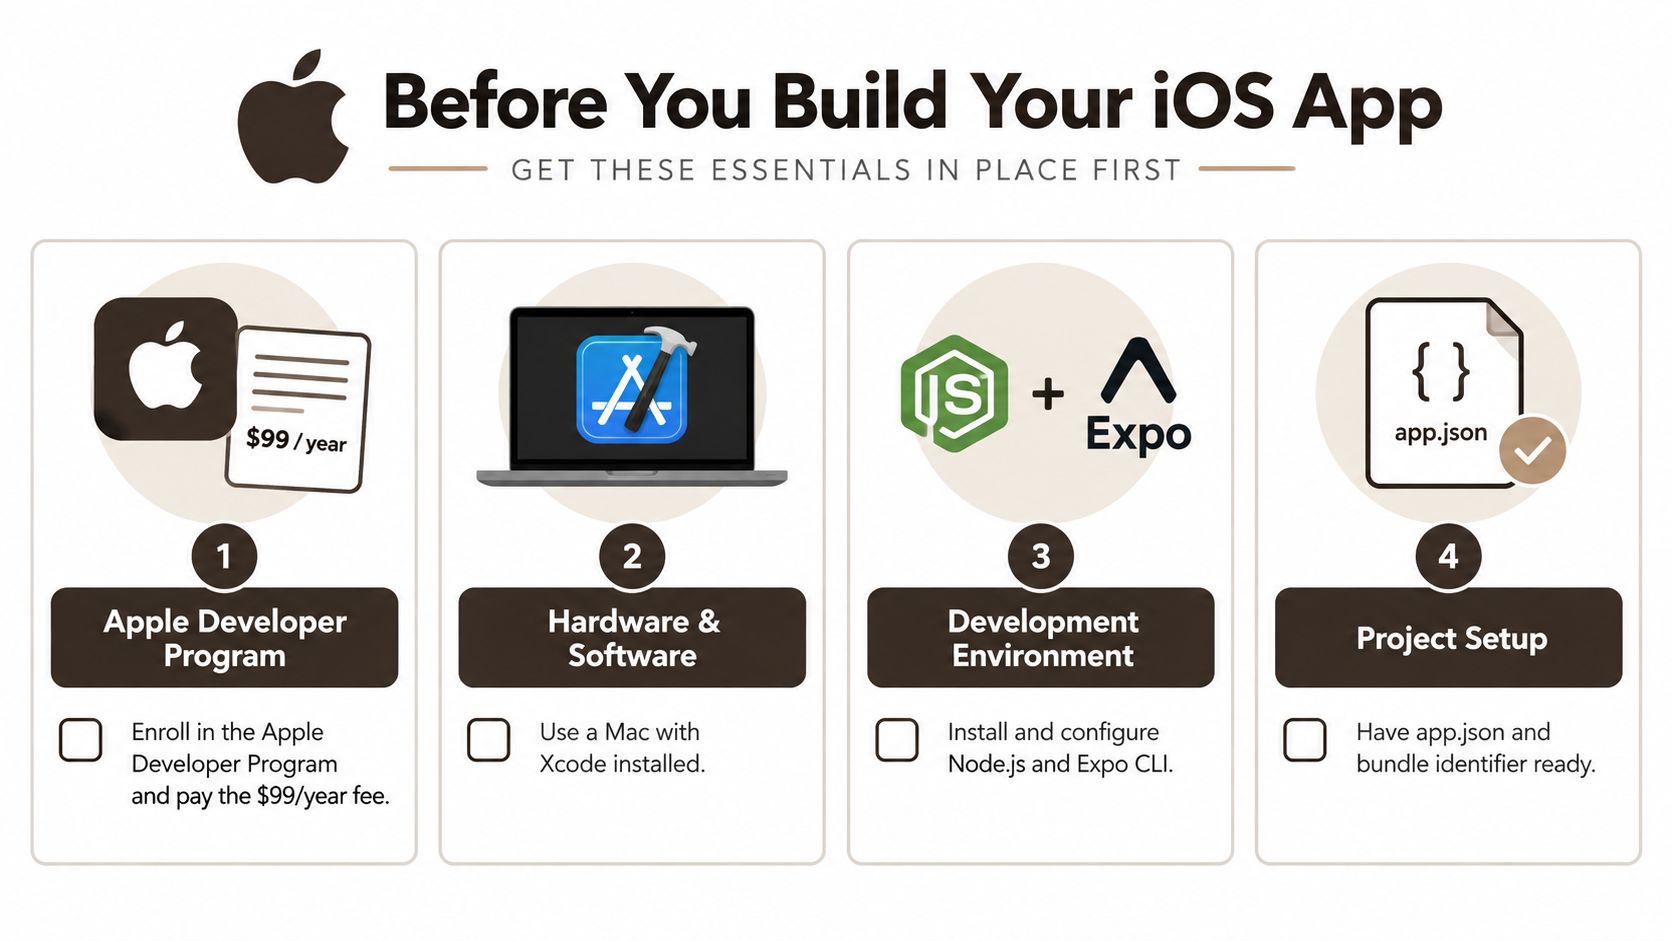 A checklist infographic outlining the four essential steps to prepare before building an iOS mobile application.
Prepare the workstation and Expo project
Install Node.js, create or open your Expo project, and make sure the Expo tooling works before adding product complexity. A clean starter should launch in the simulator before you introduce authentication, payments, push notifications, or custom native packages. The Expo getting started guide is useful for checking the basic project flow and avoiding configuration drift at the beginning.
Your project also needs an iOS bundle identifier. Choose it deliberately because it becomes the stable identity for the app in Apple's ecosystem. Changing it later can create a separate App Store record rather than updating the existing product.
A practical readiness check looks like this:
- Apple access: Confirm that the Apple Developer account, App Store Connect access, and team permissions are ready.
- Local validation: Open the project in the iOS simulator and verify that the first screen, navigation, fonts, permissions, and API calls behave as expected.
- Expo configuration: Keep the app name, icon, splash settings, version values, bundle identifier, and scheme-related settings in
app.jsonorapp.config. - Build ownership: Decide whether local builds, EAS cloud builds, or a combination will be your normal release path.
Decide whether to use a starter kit
Starting from a blank Expo project gives you maximum control, but it also leaves you responsible for wiring navigation, authentication, state, API conventions, and reusable UI. A production-oriented starter can reduce that initial setup, provided you still understand the generated structure and can replace pieces safely.
AppLighter is one option for teams that want an Expo foundation with authentication, navigation, state management, AI integrations, a Hono and TypeScript API layer, and a Supabase adapter already connected. That can help an indie developer or agency spend more time on product behavior and less time recreating application scaffolding across iOS, Android, and web.
How to Build and Sign Your Expo App for iOS
The build process becomes predictable when you treat configuration and signing as first-class project files rather than dashboard chores. Begin with the bundle identifier in your Expo configuration, then define the app metadata that must remain consistent across development, preview, and production builds.
A simplified configuration might include the app name, slug, version, icon, and iOS bundle identifier. Keep environment-specific values outside the committed production configuration when they contain secrets. Public app configuration can identify an environment, but credentials and private API keys should stay in secure environment storage.
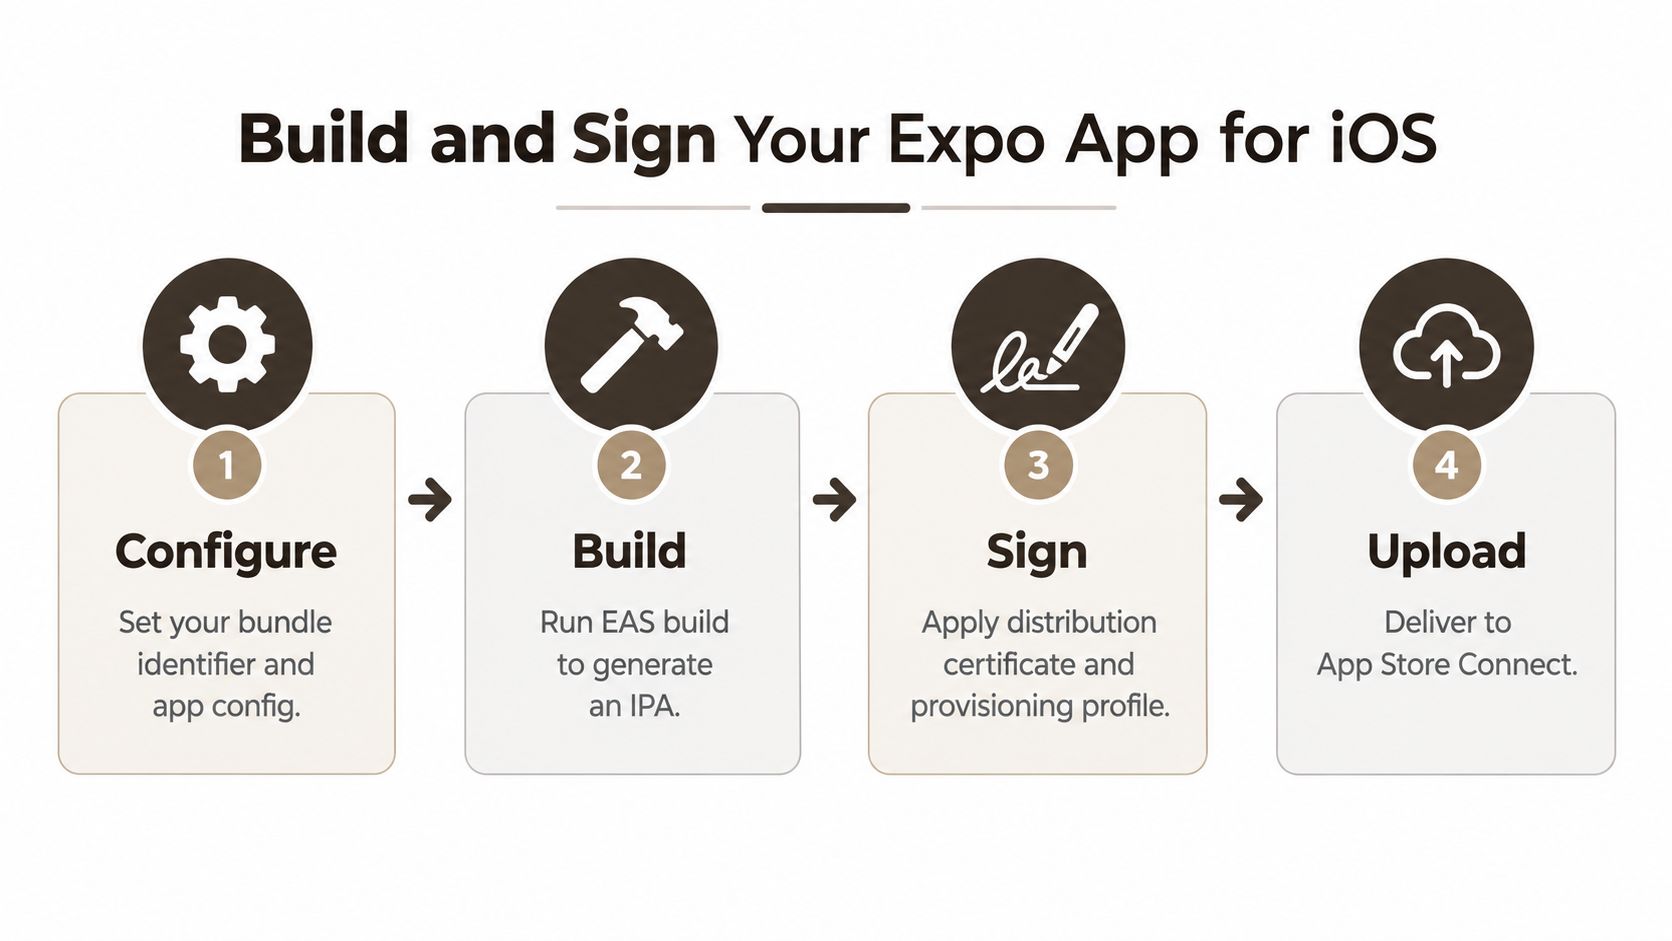 A four-step infographic illustrating the process to build and sign an Expo application for iOS devices.
Choose the build path
For a managed Expo project, EAS Build is usually the practical default for release work. It creates an iOS binary in the cloud and can manage the Apple signing credentials required to produce an installable build. The key advantage isn't that cloud builds eliminate all native problems. They give your team a repeatable build environment and keep signing operations out of individual laptops.
When EAS asks to create or manage credentials, read the prompts and confirm the Apple team before accepting changes. Signing consists mainly of a distribution certificate and a provisioning profile. The certificate proves that the build came from an authorized team, while the profile connects the app identifier, entitlements, and distribution destination.
You can also build locally when you need direct access to Xcode logs, custom native modifications, or a controlled machine environment. Local builds offer visibility, but they expose you to more certificate state, keychain configuration, Xcode version differences, and CocoaPods maintenance. For most Expo teams, cloud builds for standard releases and local builds for diagnosis is a sensible division.
Signing advice: Let one system own credential creation and renewal. Mixing manually downloaded certificates with automated EAS credentials is a common way to create confusing failures.
Manage native dependencies carefully
JavaScript dependencies can be easy to add and difficult to remove once they introduce native code. Before installing a package, check its Expo compatibility, required configuration plugin, iOS permissions, and whether it changes the generated native project. Then run a clean development build rather than assuming the package will work inside a previously generated binary.
CocoaPods remains part of the iOS dependency workflow, and the tooling is shifting. Expo documentation describes precompiled XCFramework support in Expo SDK 56 and notes that CocoaPods is expected to become read-only in December 2026 (Expo's iOS build documentation). That doesn't mean every existing project breaks immediately, but it does mean teams should avoid treating native dependency installation as an invisible detail.
AppLighter's Hono and TypeScript API layer and Supabase adapter can remain separate from the iOS signing process, which is useful operationally. Keep server configuration environment-aware, test authentication and data access against the preview build, and don't make a production binary depend on a developer's local machine.
The normal EAS sequence is straightforward:
- Configure: Set the bundle identifier, app configuration, build profiles, and environment values.
- Build: Run the EAS iOS build for development, preview, or production.
- Sign: Allow EAS to apply the appropriate Apple credentials, or supply credentials managed by your team.
- Inspect: Install the resulting build on a simulator or device and verify the release configuration.
The output is an iOS binary, commonly an IPA for distribution workflows. Keep the build profile and commit reference associated with every candidate so you can reproduce what went to TestFlight.
This short walkthrough shows the signing concept visually before you handle credentials in your own project.
For a deeper explanation of certificates, profiles, and why Apple signing fails, see this guide to iOS code signing fundamentals.
Testing With TestFlight and Submitting to App Store Connect
A signed build isn't ready for review just because it installs. TestFlight is where you validate the production-shaped binary, the release configuration, permission prompts, account flows, network behavior, and upgrade path before Apple reviewers encounter them.
Upload the build through EAS Submit, Transporter, or another approved App Store Connect workflow. Create the App Store Connect app record with the same bundle identifier used in the binary, then complete the store listing, privacy information, age rating, pricing, availability, and screenshots. Don't leave metadata until the end. Missing or inconsistent information can delay a technically sound build.
Use TestFlight as a release gate
Internal testing should confirm that the team can complete the primary user journey without development-only services or debug assumptions. External testing is useful when you need feedback from people who don't know the intended flow, especially around onboarding, navigation labels, permission timing, and error recovery.
Usability testing deserves its own pass because developers tend to test the route they expect users to take. A practical resource on structuring that work is Uxia usability testing for apps, particularly when you need to observe whether people understand the interface rather than merely confirm that every button responds.
Apple's 2025 App Store Transparency Report lists 9,100,620 submissions reviewed and 2,093,244 rejections, which implies an approximate 23% rejection rate (Apple's App Store Transparency Report). The largest rejection category was Performance, with 1,354,418 rejections, followed by Legal at 495,673 and Design at 415,532. These figures make a strong case for a preflight process that prioritizes the areas most likely to stop a submission.
Run a category-based preflight
Map every user-facing feature to review risks before selecting Submit. For example, a camera feature needs permission messaging and a working fallback, while a subscription feature needs accurate product behavior, purchase restoration, and matching store metadata.
| Review Category | What to Verify Before Submit | Common Trigger |
|---|---|---|
| Performance | Test cold starts, slow networks, memory-heavy screens, image loading, and offline or failed requests. | Crashes, hangs, broken interactions, or a screen that never becomes usable |
| Legal | Confirm privacy disclosures, permission explanations, third-party content rights, account deletion behavior, and support details. | Incomplete declarations, unclear data practices, or missing required user controls |
| Design | Check layout across supported devices, readable text, accessible controls, consistent navigation, and correct launch behavior. | Overlapping content, confusing flows, placeholder UI, or inconsistent interaction patterns |
| Functionality | Exercise sign-in, sign-out, deep links, notifications, purchases, restore flows, and account recovery in the production build. | A reviewer cannot complete the core experience or encounters a blocked path |
| Metadata | Match screenshots, description, age rating, app name, category, and release notes to the actual binary. | Store content promises features that aren't present or omits important limitations |
Reviewers don't test your development assumptions. They test the submitted product. Provide demo access when required, keep backend services available, and document any non-obvious workflow in App Review notes without using those notes to excuse broken functionality.
Polishing Launch Performance and Avoiding Common Pitfalls
A good iOS release should feel ready before the user understands how much engineering supports it. Launch behavior is a clear example. Apple's Human Interface Guidelines recommend that an app begin interacting with users within a couple of seconds, use a launch screen nearly identical to the first screen, avoid text on that launch screen, and restore prior state after restarting (Apple's launching guidance).
That guidance changes how you design the first frame. Don't use the launch screen as a marketing poster while the actual interface loads behind it. Make it a visual placeholder for the first real view, then put branding, explanations, and product value in onboarding.
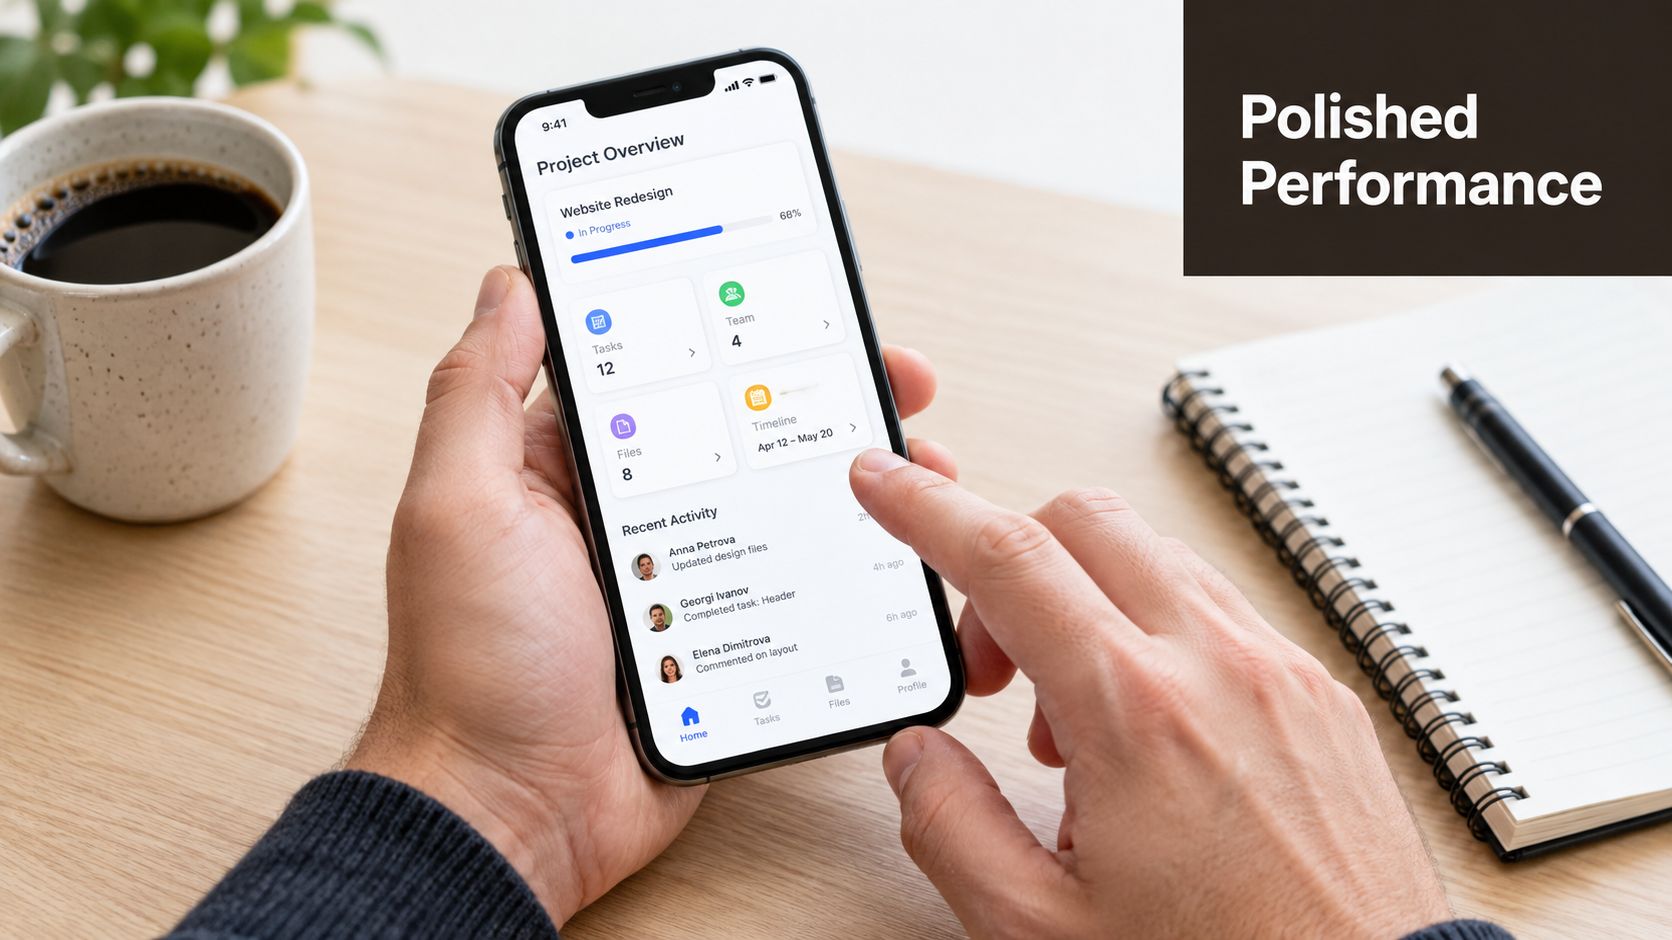 A person holding a smartphone displaying a project management dashboard app interface on a wooden desk.
Remove avoidable cold-start work
Delay nonessential network requests until the first screen can respond. Render cached state immediately when it's safe, then refresh in the background. If authentication must be checked, show a stable loading state that matches the destination rather than flashing an unrelated screen.
State restoration also needs deliberate testing. Kill the app, reopen it, interrupt a request, switch networks, and return from a system permission screen. Users shouldn't have to reconstruct their context after every relaunch.
Launch pattern: The first screen should be useful before the rest of the application finishes preparing itself.
Treat reliability as a toolchain concern
The most overlooked problems in modern iOS delivery are often outside the component tree. Recent coverage of iOS development trends identifies toolchain baselines, Swift concurrency, testing and CI governance, and privacy automation as pressure points for release predictability (BairesDev's iOS development coverage). Expo teams still encounter these issues indirectly through native modules, build plugins, generated projects, and platform services.
Keep dependency versions deliberate. Commit lockfiles, run CI builds from a clean environment, and make failed tests block production submission. For native packages, verify concurrency and permission behavior rather than trusting a successful JavaScript compile. Automate privacy and configuration checks where possible, but retain a human review for declarations that describe real data collection.
Your Next Steps to Ship Faster With AppLighter
The fastest sustainable way to build an app for iOS isn't to skip release engineering. It's to start with fewer avoidable decisions, then enforce the remaining ones consistently.
A workable sequence is:
- Define the product boundary: Identify the one primary journey the first release must support.
- Create the Expo foundation: Set the bundle identifier, environments, navigation, authentication, and data access before adding edge-case features.
- Build a preview binary: Use EAS or your chosen local workflow and test the release configuration, not only the development server.
- Run TestFlight validation: Ask testers to complete the core flow without coaching and record every confusing or broken state.
- Complete the review preflight: Check performance, legal details, design consistency, functionality, and metadata before submission.
- Ship and observe: Treat the approved release as the start of iteration, with crash reports, user feedback, and dependency maintenance feeding the next build.
A starter kit can compress the scaffolding stage, but it won't replace product decisions or testing. AppLighter provides an Expo-based foundation with wired authentication, navigation, state management, AI-assisted development tooling, and API and database conventions for teams targeting iOS, Android, and web. The Expo mobile app guide can help you evaluate how that type of foundation fits your build process.
The important decision is operational. If you want a quick prototype, optimize for feedback. If you want an App Store product, optimize for repeatable builds, clean signing, trustworthy metadata, and a TestFlight process that catches failures before review.
AppLighter gives you a preconfigured Expo foundation for authentication, navigation, state, AI-assisted development, and edge-ready API work, so you can focus on the product instead of rebuilding boilerplate. Visit AppLighter to start with a release-oriented mobile app foundation and move your iOS project toward TestFlight with fewer setup obstacles.