TestFlight on Android: Why testflight on android Isn't Available
Curious about testflight on android? It doesn't exist. Learn best Android-friendly alternatives like Google Play and Firebase for React Native and Expo apps.
Let's get the big question out of the way right up front: you absolutely cannot use TestFlight on Android. It's a common misconception, but TestFlight is an Apple-exclusive tool built from the ground up for iOS, iPadOS, and its other operating systems. There's no official version, no secret workaround, and no third-party port for the Android ecosystem.
Why TestFlight On Android Is A Myth
If you're building apps, especially with cross-platform frameworks like React Native or Expo, you live and die by your beta testing workflow. You code a new feature, push it out to a trusted group of testers, and get that crucial feedback before going live. For anyone developing for Apple devices, TestFlight is the undisputed king—it's simple, deeply integrated, and just works.
So, it’s completely natural to want that same smooth experience for your Android users. The search for "TestFlight for Android" is a well-trodden path for developers, but it always leads to a dead end.
The reason is baked into its DNA. TestFlight isn't just a standalone app; it's a core part of Apple's entire development walled garden, tied directly into Apple Developer accounts and App Store Connect. Think of it like iMessage—it's a fantastic tool that Apple built specifically for its own devices to ensure a seamless, tightly controlled experience. It was never designed to play nice with others. Ever since its launch on August 1, 2014, TestFlight has been an iOS-only club.
This means Android developers need to look for native solutions built for an entirely different world. Understanding Android's unique distribution landscape is the first step.
To put it simply, here’s a quick breakdown of the situation.
Why You Can't Use TestFlight On Android: A Quick Summary
| Platform | Availability | Primary Reason | Developer Action |
|---|---|---|---|
| Apple (iOS, etc.) | ✅ Available | Deeply integrated into Apple's ecosystem (App Store Connect, Developer IDs). | Use TestFlight for all Apple device beta testing. |
| Android | ❌ Not Available | It's an Apple-owned product never intended for cross-platform use. | Embrace Android-native alternatives like Google Play testing tracks or Firebase. |
The key is to stop searching for an exact clone and start exploring the excellent tools built specifically for Android's open ecosystem.
Embrace The Native Android Workflow
Instead of trying to force a square peg into a round hole, the best approach is to lean into what the Android ecosystem does best. You won't find one single tool that mirrors TestFlight exactly, but you will find a collection of powerful, specialized solutions that integrate perfectly with the Google Play Store.
This approach actually comes with some real advantages:
- Flexibility: You get to pick the right tool for the job, whether you're doing a quick internal test or a large-scale open beta.
- Deep Integration: Android's testing tools connect directly to vital services like Google Play Console analytics and Firebase Crashlytics.
- Massive Scale: The system is designed from the ground up to handle the incredible diversity of Android devices and user bases out there.
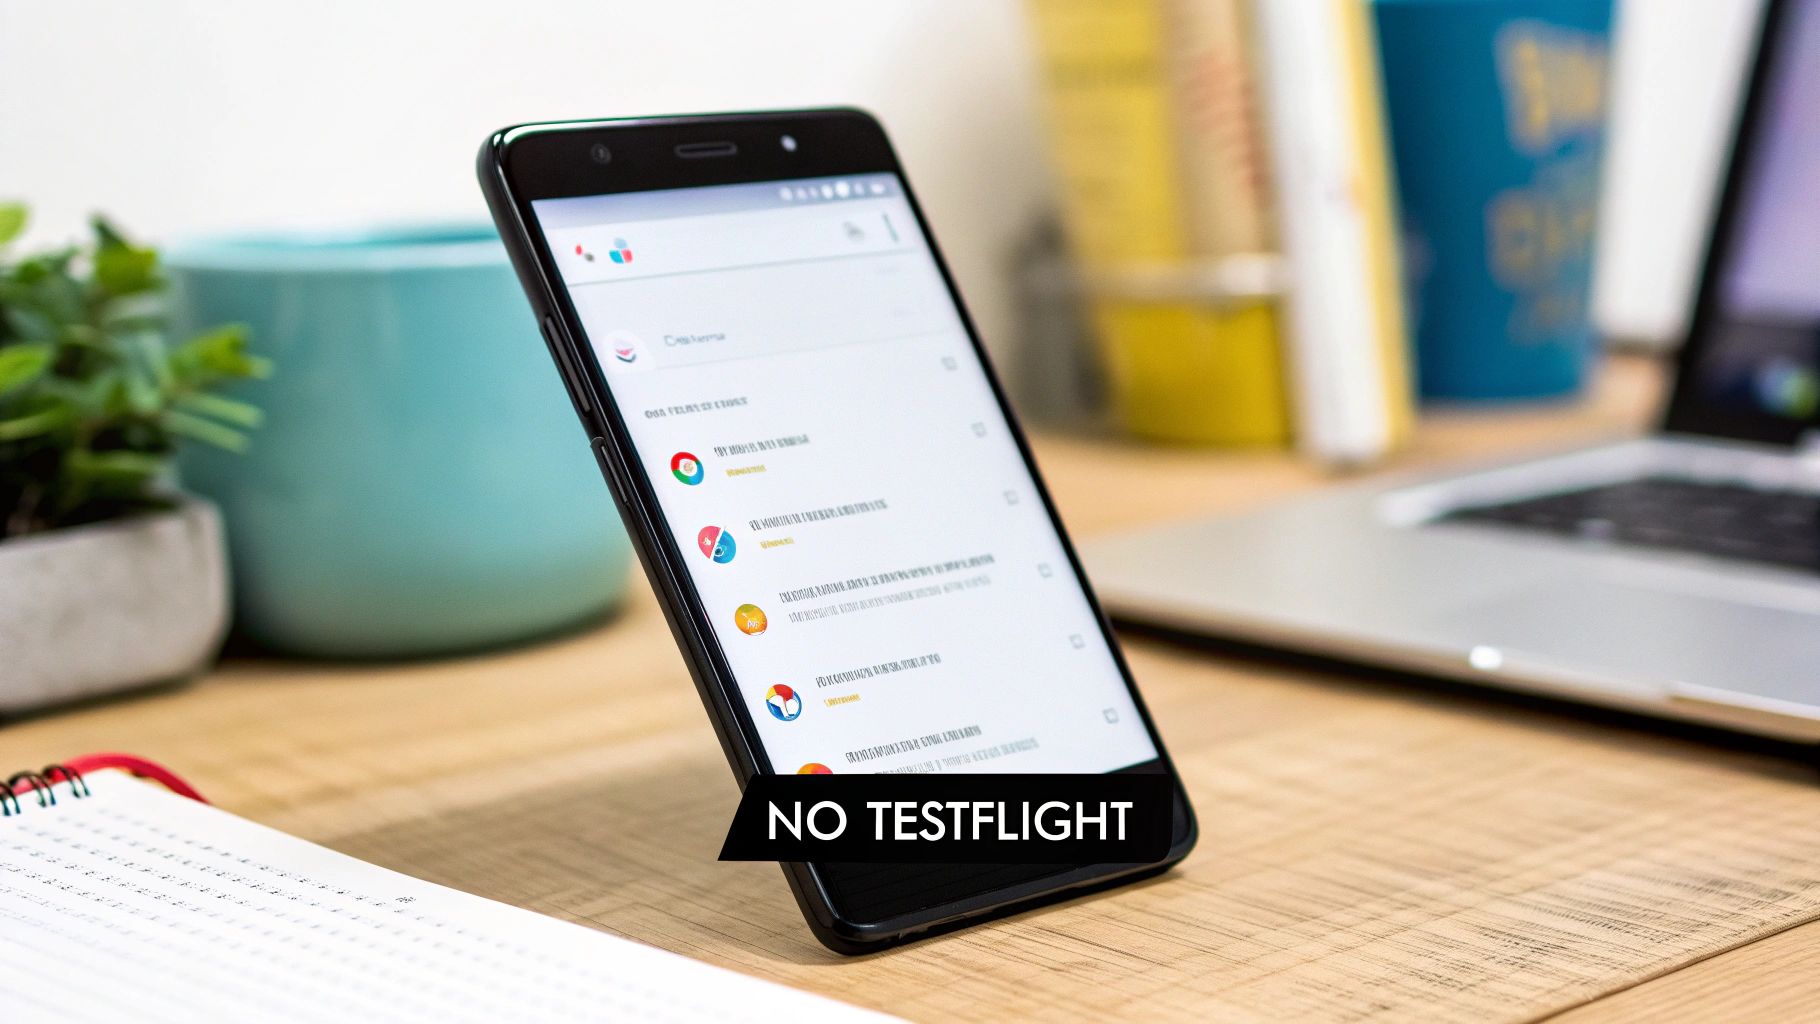 A black smartphone displaying an app list on a wooden desk with a 'NO TESTFLIGHT' banner.
The reality is clear: TestFlight is for Apple's world. For the rest of this guide, we'll dive into the best alternatives that make beta testing your Expo and React Native apps on Android just as easy and effective.
So, What Are the Go-To Android Beta Testing Tools?
Now that we've established TestFlight isn't an option for Android, let's dive into the world of Android-native testing. The Android ecosystem is a bit different from Apple's walled garden. Instead of one single, top-down tool, Android gives you a whole toolbox.
This isn't a downside—far from it. It's a strategic choice that mirrors the platform's open and flexible nature. You get specialized tools built for different stages of the development cycle, giving you more control. This means you can pick the right tool for the job, whether you're sending a quick build to your internal team or running a massive public beta.
The mindset shift is key here: move away from a one-size-fits-all approach and embrace a purpose-built workflow. You'll use different tools at different times for specific goals, from fast-paced daily checks to that final, pre-launch shakedown.
Why Is the Android Approach So Different?
This seemingly fragmented system is actually a strength. It’s designed this way to allow for much deeper integration with other services you're already using, like crash reporting and analytics. It’s all about creating a connected development pipeline.
The two heavyweights you'll encounter are Google Play Console and Firebase App Distribution.
-
Google Play Console: Think of this as the official, final gateway to the Play Store. Its testing tracks are built for the last stage of validation, making sure your app is solid, meets Google's quality standards, and works across the thousands of different Android devices out there.
-
Firebase App Distribution: This is your private, high-speed courier service for app builds. It completely sidesteps the formal store review process, letting you get a new build into your testers' hands in minutes, not hours or days. Perfect for rapid-fire feedback.
This two-pronged strategy is incredibly powerful. Android's sheer scale pretty much demands it. With a staggering 70% market share globally, the variety of devices and user scenarios is immense. This reality is reflected in the tools we use; just look at the Android platform distribution data to get a sense of the scale.
Ultimately, these tools aren't competitors; they're collaborators. You iterate at lightning speed with Firebase, get that instant feedback, and then use the Play Console for a wider, more formal validation. This ensures your app is truly polished and ready for a global audience.
Using Google Play Console For Official Beta Tests
When you're ready to move past quick internal checks and get serious about beta testing, the Google Play Console is your home base. Think of it as the official proving ground for your Android app before it goes live to the world. It’s the most direct, powerful, and native way to manage your releases on Android.
While other tools are great for speed, the Play Console gives you structure and deep integration with the entire Google Play ecosystem. This is where you put your app through its paces, making sure it’s stable and performs well across the thousands of different Android devices out there. For us developers, this is the final quality check before a production launch.
Understanding The Three Main Testing Tracks
The Google Play Console neatly organizes beta testing into three different "tracks," and knowing which one to use is crucial for a smooth rollout.
-
Internal Testing: This is for your inner circle—your dev team, QA folks, and product managers. You can add up to 100 testers who get access through a simple link, and builds are available almost instantly. It’s perfect for those daily builds and quick sanity checks on new features without any formal review holding you back.
-
Closed Testing: Ready for a bigger audience but still want to keep things under control? That’s what Closed Testing is for. It's ideal for getting feedback from trusted customers or a dedicated beta community. You can invite people by email and even run multiple closed tracks at once to test different versions of your app with different groups.
-
Open Testing: This is your public beta. Anyone on the Play Store can find your app, opt-in, and start testing. It's an incredible way to find those weird, obscure bugs that only pop up with a huge number of users. A word of caution, though: reviews from open testing are public, so you’ll want your app to be rock-solid before you enter this phase.
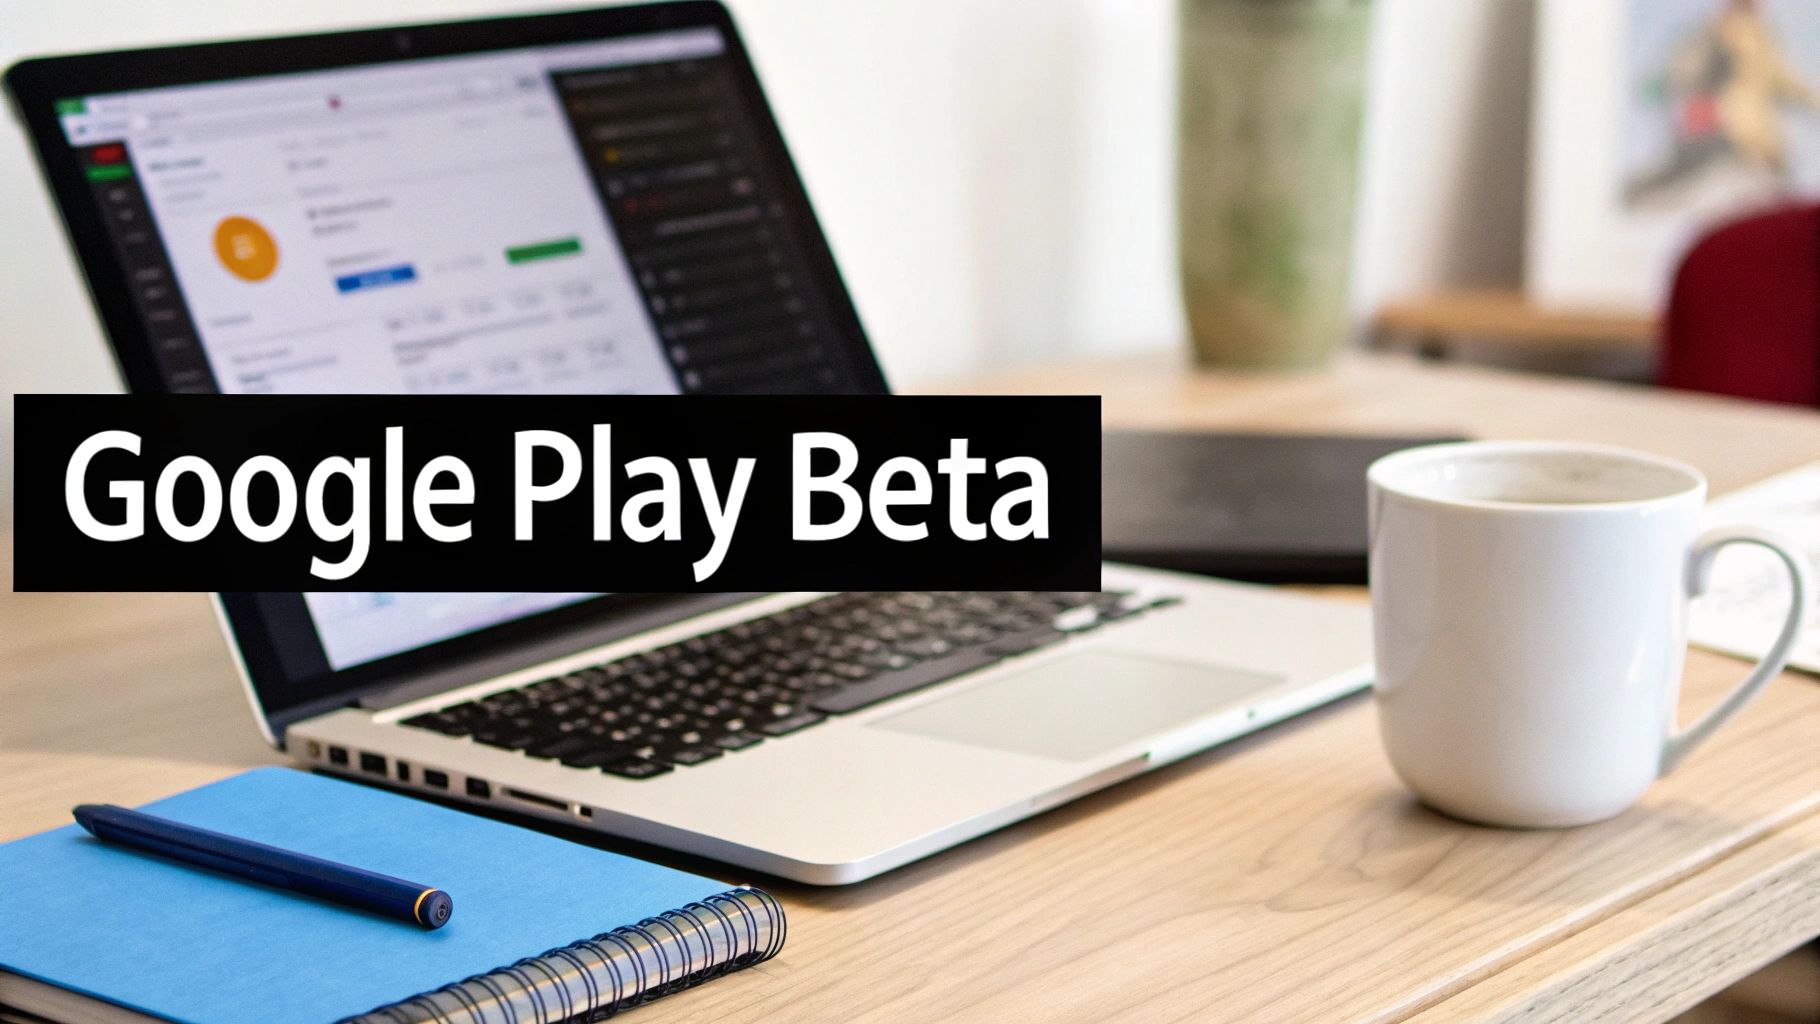 A laptop on a wooden desk displaying a dashboard with 'Google Play Beta' text, next to a coffee mug and notebook.
From the main dashboard, you can jump right into the "Testing" section to manage your internal, closed, and open beta releases for any Android app you're working on.
Streamlining Releases With Expo And EAS
If you're building with Expo, you're in for a treat. The Expo Application Services (EAS) CLI has built-in commands that let you submit builds directly to your Play Console testing tracks. What used to be a tedious, multi-step process is now just a single command.
The real magic happens when you configure your
eas.jsonfile. By setting up different build profiles, you can create a slick, automated workflow that targets specific tracks. For teams using tools like AppLighter, this creates a seamless pipeline for pushing out faster, more reliable Android betas.
And this isn't just about convenience. Following this structured approach really pays off. According to 2025 aggregated peer benchmarks from Google, apps that go through internal testing see their crash rates drop by 28% before they even launch. You can dig into similar trends on the Android developer dashboards. It’s all about catching issues early to ensure a much, much smoother launch day.
Leveraging Firebase App Distribution For Rapid Feedback
While the Google Play Console is your final destination for a production app, its built-in review times can really drag down your development rhythm. If you're looking for the kind of speed TestFlight users brag about—getting a build into testers' hands in minutes, not hours—then you need to meet Firebase App Distribution. It’s built from the ground up for exactly this: getting fast feedback before you even think about the Play Store.
Think of it as your own private delivery channel for test builds. It completely sidesteps Google's formal review process, letting you send APKs or AABs straight to your team with a simple email link. For any team trying to move quickly, this workflow is a total game-changer. You can get instant feedback on a new feature or a quick bug fix without waiting around.
The whole point is to shrink the feedback loop as much as possible. You run a build, upload it, and your testers get a notification right away. This is the closest you’ll get to the TestFlight experience on Android, and honestly, with its deep connections to the rest of the Firebase suite, it’s arguably even more powerful.
Setting Up Firebase For Your Expo Project
Getting this up and running is surprisingly painless. Your first move is to get the Firebase SDK into your React Native or Expo project. This just means creating a project in the Firebase console, grabbing the google-services.json config file, and adding the App Distribution SDK to your app.
Once that one-time setup is done, the day-to-day workflow is a breeze:
- Build Your App: Run
eas buildto create a production-ready Android build (an.apkor.aabfile). - Upload to Firebase: You can just drag and drop the build file into the Firebase console or automate the whole thing.
- Invite Testers: Add your testers' email addresses to a group. They’ll get an email inviting them to download the build.
- Gather Feedback: Testers install the app with a couple of taps and can start giving you notes immediately.
Better yet, you can automate this entire process with the Firebase CLI or tools like Fastlane, making it a perfect fit for a CI/CD pipeline. If you're using AppLighter, you can set up a workflow that automatically pushes a new build to Firebase after every commit, so your QA team always has the absolute latest version without anyone having to lift a finger.
Key Features For Fast Iteration
Firebase App Distribution is way more than just a place to dump your builds. It’s packed with features designed to speed you up, and its tight integration with Crashlytics is the real star of the show. If a tester's app crashes, a detailed report is sent straight to your Firebase console, often pointing you to the exact line of code that broke.
When you combine rapid distribution with automatic crash reporting, you create a powerful feedback engine. You can spot a bug, fix it, and deploy a new build in a fraction of the time it would take going through a formal review.
Firebase also offers an optional in-app feedback feature. This lets testers take a screenshot and send their thoughts right from the app itself, which gives you the kind of context that gets lost in a Slack message or email. The version management is also crystal clear, showing you exactly which tester has which version installed. This simple feature eliminates so much confusion and ensures your team is always testing the right thing.
Choosing The Right Android Beta Testing Tool
Picking the right tool to beta test your Android app isn't just a technical decision—it's a strategic one that shapes how fast you can move and the quality of feedback you get. There's no single "best" choice for everyone. Instead, it’s about understanding the strengths of each platform to build a workflow that makes sense for you, whether you're a solo dev hacking on a side project or a team gearing up for launch.
The main players in the Android world are the official Google Play Console, the developer-favorite Firebase App Distribution, and a handful of powerful third-party services like Microsoft App Center. Each one has its own sweet spot in the development cycle.
Comparing Your Options
To make a smart call, you need to line these tools up and see how they compare on the things that actually matter to developers. The right choice often comes down to where you are in your project's lifecycle. An early-stage MVP, for example, needs raw speed more than anything else, while an app on the verge of launching needs rock-solid stability and scale.
The goal isn't to find a one-for-one replacement for TestFlight. It's to build a flexible workflow. The most effective approach is often a hybrid one: use Firebase for daily internal builds and the Google Play Console for more formal testing with a wider audience.
This two-pronged strategy gives you the best of both worlds. You get the agility needed for quick, daily iterations and the formal structure required for stable, pre-release candidates.
Comparison Of Top TestFlight Alternatives For Android
So, let's get into the nitty-gritty. For a React Native or Expo developer, the choice between these platforms can make a huge difference in your day-to-day work. Here’s a head-to-head look at how they stack up.
| Feature | Google Play Console | Firebase App Distribution | Third-Party (e.g., App Center) |
|---|---|---|---|
| Best For | Stable, pre-production releases and official public betas. | Rapid internal feedback and daily QA builds. | All-in-one CI/CD, analytics, and distribution. |
| Setup Complexity | Moderate; requires Play Store listing and service accounts. | Low; simple SDK integration and web-based upload. | Varies; often more involved to connect all services. |
| Review Time | Yes (can be hours to days) | None. Builds are available to testers instantly. | None for distribution. |
| Tester Management | Structured via Google accounts and email lists. | Flexible via email invites and public links. | Similar to Firebase; often integrated with GitHub. |
| CI/CD Integration | Excellent with EAS Submit and Fastlane. | Excellent with Firebase CLI and Fastlane. | Strong; often the core feature of the platform. |
| Cost | Free (part of the $25 developer fee). | Free tier is generous; part of the Firebase Spark plan. | Typically a usage-based pricing model. |
Ultimately, the table highlights a key difference in philosophy. Google Play is built for structure and safety before a public release, while Firebase is all about speed and developer convenience.
The Verdict And Recommended Workflows
So, which tool should you actually use? For most React Native developers, the answer is a combination of the first two.
-
For Indie Devs and MVPs: Start with Firebase App Distribution. Seriously, its speed is a game-changer. You can get builds into the hands of a small, trusted group for feedback in minutes, letting you iterate on features without getting bogged down by the Play Store's review process.
-
For Startups and Production Apps: This is where the hybrid model shines. Use Firebase for your internal team's daily builds—the ones your developers and QA testers hammer on every day. Once a version feels stable and ready for a wider audience, promote it to the Google Play Console's Internal or Closed tracks. For teams using AppLighter, this workflow is a breeze, as you can easily set up your EAS builds to target both platforms with minimal fuss.
Your Step-by-Step Android Beta Workflow With Expo
Alright, enough theory. Let's get our hands dirty and walk through a real-world workflow to get your Expo app from your development machine onto a tester's Android phone. We'll lean on Expo Application Services (EAS) to keep things smooth and repeatable.
The idea here is to create a simple, two-stage pipeline. First, we’ll build a rapid feedback loop for your internal team using Firebase App Distribution. Once a build is stable, we’ll promote it to the Google Play Console's internal track for a final quality check before it goes live.
Step 1: Configure Your Build Profiles
Before you can fire off a build, you need to tell EAS how you want it built. This all happens in your eas.json file. We’re going to set up two distinct profiles: one for quick internal builds (development-apk) and another for the final store submission (production).
- The
development-apkprofile is set up to create an.apkfile. This format is ideal for quick, direct installations via Firebase, bypassing the Play Store entirely. - The
productionprofile will generate an.aab(Android App Bundle), which is the official format Google requires for all new apps on the Play Store.
Keeping these profiles separate ensures you always build the right type of file for the right purpose. No more accidental uploads or confusion.
Step 2: Build and Distribute to Firebase
With your profiles ready, the first build is for your immediate team. Pop open your terminal and run this command:
eas build -p android --profile development-apk
This command instructs EAS to kick off an Android build using the development-apk settings we just configured. When it’s done, you'll get a link to download the .apk file.
From there, it’s as simple as dragging and dropping that file into your Firebase App Distribution console. Assign it to your tester group, and boom—they get an email notification almost instantly. You get to skip the review queues and get feedback right away.
This process is your secret weapon for moving fast. For teams using a platform like AppLighter, you can completely automate this step in a CI/CD pipeline. Imagine new builds landing in your QA team's inbox just minutes after every commit. That's how you shrink the feedback loop.
Step 3: Submit to the Google Play Console
Once your app is feeling solid and you’ve squashed the bugs your internal team found, it's time for the official handoff to Google. This part requires a small, one-time setup to link EAS with your Google Play account using service credentials. EAS makes this easy with a guided command: eas credentials.
After your credentials are set, the rest is a piece of cake. First, you'll create the production-ready build:
eas build -p android --profile production
This time, instead of downloading the file, you'll use a different command to send it straight to Google Play's internal testing track:
eas submit -p android --latest
That one command takes care of the entire upload and submission process. Your app is placed right where it needs to be, and your designated testers can now download it directly from the official Play Store app, just like any other app.
This visual guide shows the decision flow for choosing your primary distribution tool based on your immediate needs.
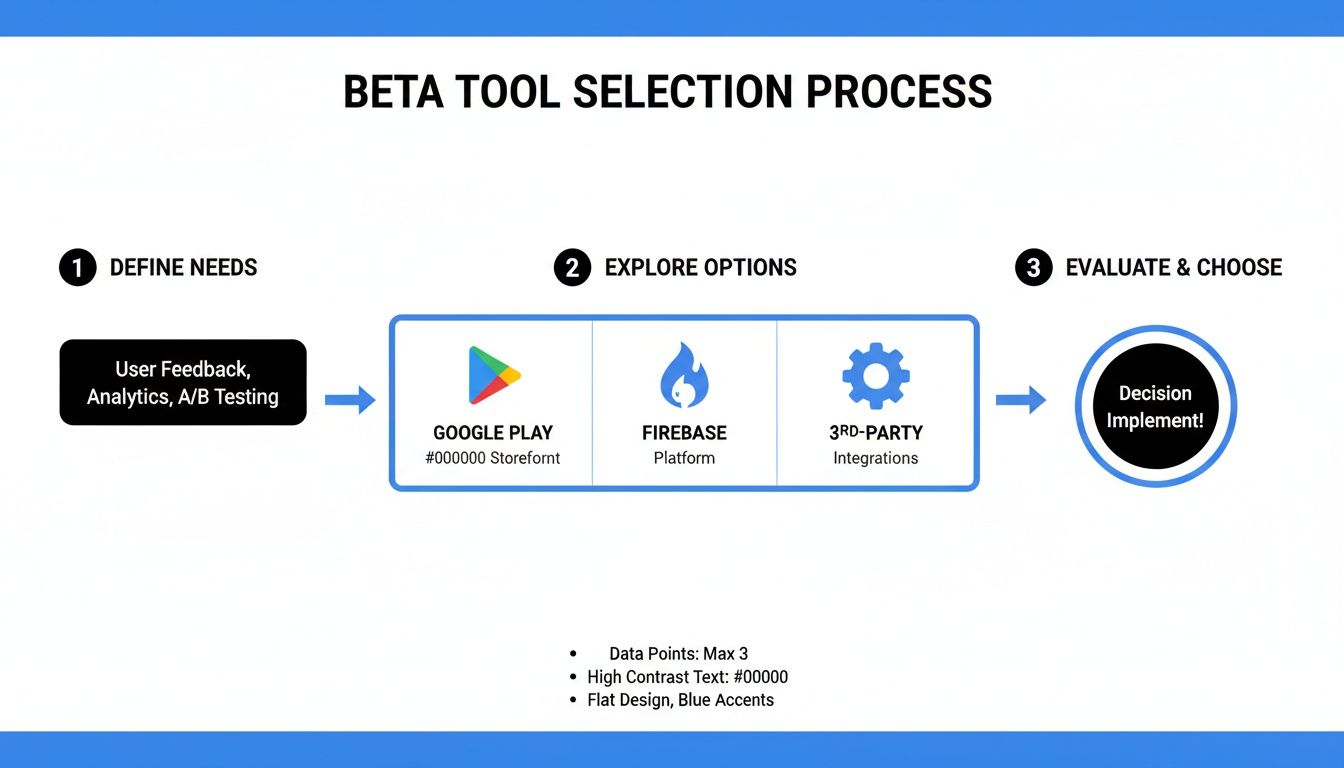 Flowchart illustrating a beta tool selection process, from defining needs to evaluating options and implementing a decision.
As the flowchart shows, the choice between tools like Google Play and Firebase really just depends on your goal—whether you need rapid, informal iteration or a more formal, pre-release validation.
Got Questions About Android Beta Testing?
As you start exploring Android beta testing, a few questions always seem to come up, especially after you realize there’s no direct TestFlight for Android. Let's clear up the confusion with some straight answers to help you pick the right path for your app. Think of this as the final check-in to make sure your testing strategy is solid.
Getting these fundamentals right from the start will save you a ton of headaches down the road and help you build a testing workflow that just works.
So, Does Google Have Its Own TestFlight?
Not exactly. Google doesn't offer a single, standalone app that's a perfect clone of TestFlight. Instead, its beta testing tools are built right into the Google Play Console through different "testing tracks"—Internal, Closed, and Open. This approach keeps your testing process tightly connected to the official app store pipeline.
If you're looking for something that feels more like TestFlight—focused on quickly getting builds out before a formal store release—Google's answer is Firebase App Distribution. It's part of the wider Firebase developer suite and is designed specifically for getting builds to testers, fast.
Can I Use Firebase And Google Play Together?
Absolutely! In fact, using them together is one of the most effective workflows you can adopt. It creates a powerful, two-stage testing process that gives you the best of both worlds.
This hybrid approach lets you iterate incredibly fast with your internal team and then switch to a more formal, structured process for stable builds. It's the perfect balance between moving quickly and ensuring quality before you go live.
Here’s how it usually works: Use Firebase App Distribution for your daily or weekly internal builds. Since it completely bypasses the Play Store review, you can push updates to your core team almost instantly. Once you have a build that feels stable and ready for more eyes, you promote that version to a Closed or Open track in the Google Play Console for that final round of testing.
What's The Easiest Way To Test My Expo App?
For anyone building with Expo, the most direct path is to combine EAS Build with the Google Play Console's Internal Testing track. The integration is incredibly smooth and designed to get you from code to testing with very little fuss.
It really is that simple:
- First, create your application in the Play Console.
- Next, configure your service account credentials with the EAS CLI.
- Finally, run the
eas submit -p androidcommand.
That one command takes care of building your app and uploading it directly for your internal testers. It's hands-down the most efficient way to start beta testing your Expo app on Android.
Ready to build and ship your Expo app faster? AppLighter is a production-ready starter kit with everything you need, from authentication to AI integrations, all pre-configured and optimized for iOS, Android, and the web. Stop rebuilding the basics and start building your business. Check out the template at https://www.applighter.com.