Mastering PayPal Transaction ID Lookup A Practical Guide
A complete guide to the PayPal transaction ID lookup process. Learn how to find and use your transaction ID on the website, app, API, and for handling disputes.
That 17-character alphanumeric string you get from PayPal might look like a random jumble, but it’s the single most important piece of data for managing your online business. A successful PayPal transaction ID lookup is your key to everything. This ID is the official record for every payment that moves through your account. It’s the very first thing you’ll reach for to handle a customer dispute, process a refund, or just confirm a payment went through before shipping a product.
Why Your PayPal Transaction ID Matters
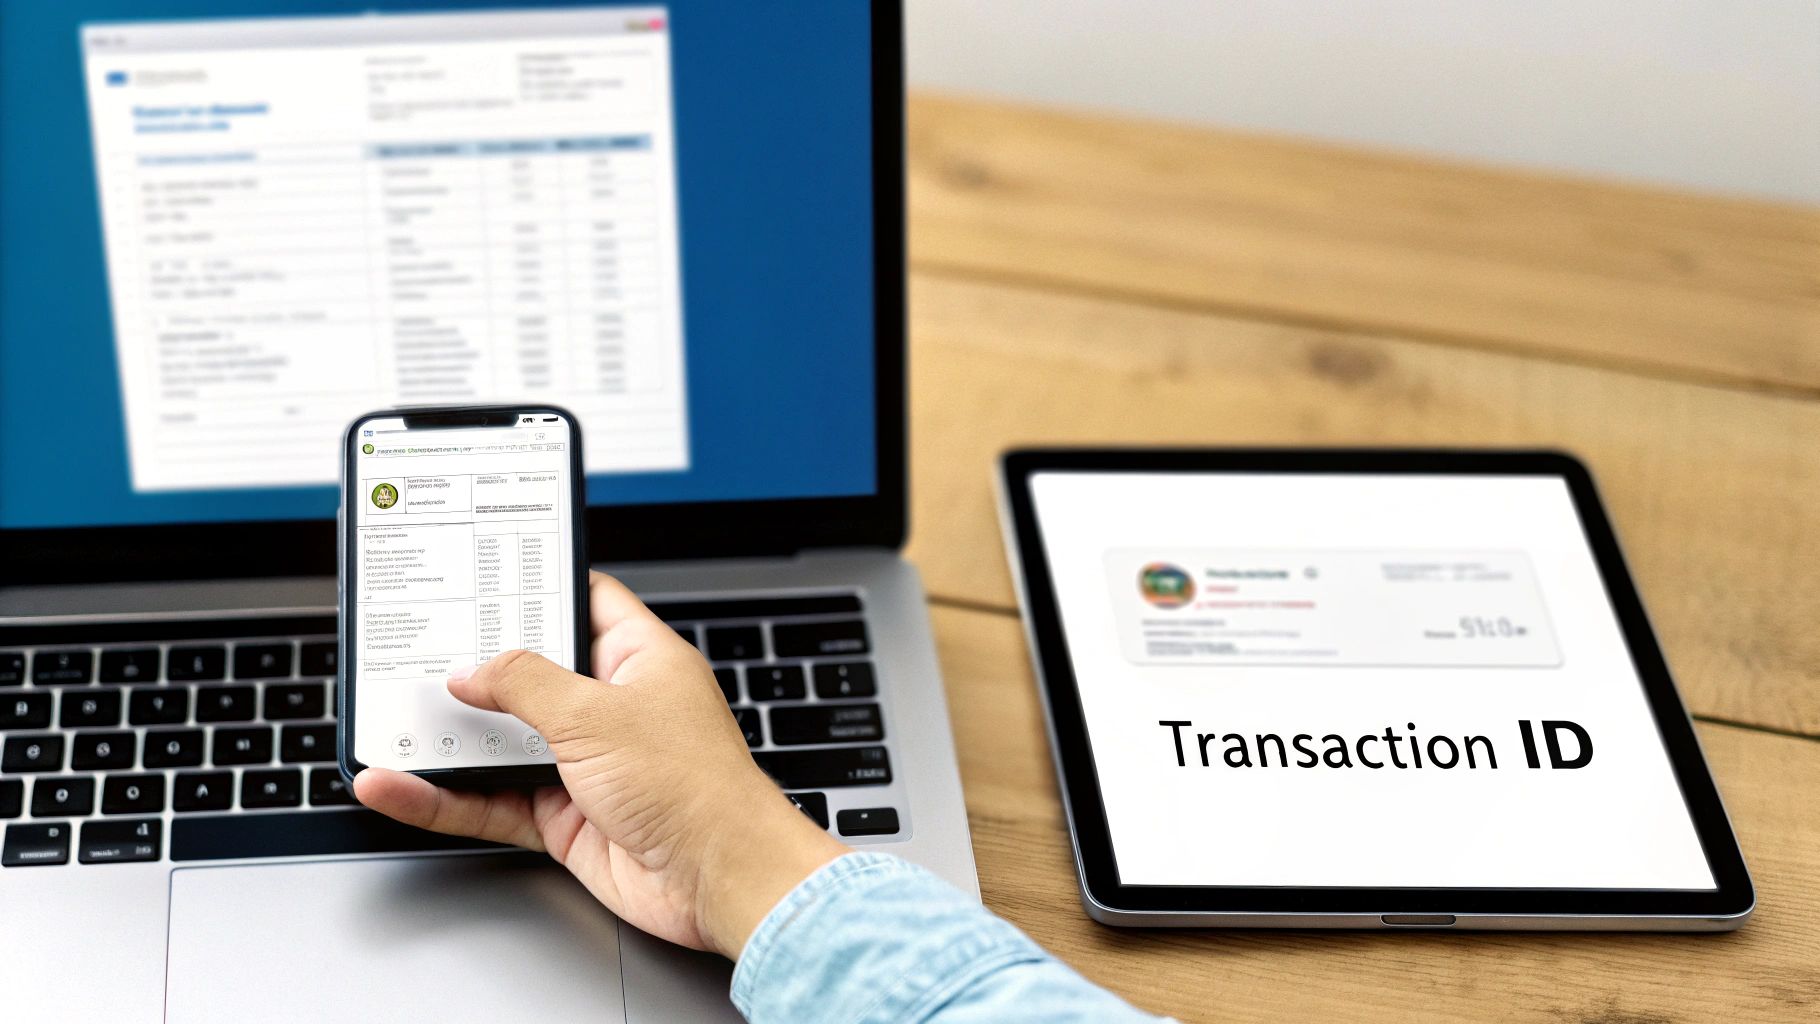 A person uses a smartphone to manage online transactions, with a laptop and tablet displaying financial information, including a transaction ID.
Think of the PayPal transaction ID as a digital fingerprint for every single financial interaction. For any business owner or developer, it’s the ultimate source of truth connecting a customer's order to your internal records. Trying to solve payment issues without it is like flying blind.
This ID becomes absolutely critical in a few common situations. Picture this: a customer emails you, frustrated because they bought a digital download but never got the link. The transaction ID lets you instantly pull up their payment, confirm the amount and timestamp, and get them their product in minutes. No guesswork, just a quick, professional resolution.
The Bedrock of Trust and Automation
But it's about more than just putting out fires. When you can quickly and accurately handle these issues, you build trust. Customers see that your business is buttoned-up and reliable. It’s a small detail that makes a huge difference in how people perceive your brand, especially in the fast-paced world of mobile apps.
If you’re a developer working with frameworks like Expo and React Native, you can even build automated lookups right into your app. An app built with a premium starter kit like AppLighter, for example, could be set up to:
- Verify Payments on the Fly: Automatically unlock premium features or content the moment the app confirms a valid transaction ID through the PayPal API.
- Make Support a Breeze: When a user opens a support ticket from the app, it can automatically attach the relevant transaction details.
- Simplify the Refund Process: Let users start a refund request by providing their ID, which then kicks off an automated verification process on your end.
With the sheer volume of e-commerce today, trying to track payments manually is a recipe for disaster. The transaction ID is the cornerstone of automated financial workflows that let businesses scale up without sacrificing accuracy or security.
The numbers alone show why this matters so much. In 2024, PayPal's total payment volume hit an incredible $1.68 trillion, spread across 26.334 billion transactions. That massive scale shows just how essential solid lookup capabilities are for any business. You can find more data on PayPal's market growth and transaction volume on capitaloneshopping.com.
How to Find Your PayPal Transaction ID, No Matter Where You Are
Your PayPal transaction ID is always within reach, whether you're at your desk or on the move. Knowing exactly where to look is the key to a quick and painless lookup. Forget the jargon; here’s a simple guide to finding this critical 17-character code on the platforms you use every day.
On the PayPal Website
The PayPal website is your most powerful tool for digging into transaction details. Once you log in, everything you need is right under the Activity tab—think of it as the command center for all your incoming and outgoing payments.
After clicking "Activity," you'll see a running list of your recent transactions. You can use the search bar to find a specific payment by name or email, or use the filters to narrow it down by date. This is a lifesaver when you're searching for something from a few months back. Just click on the transaction in question, and the detailed view will pop up. The Transaction ID is always displayed prominently right near the top.
A common mistake is forgetting to adjust the date range. If you can't find a payment, it's likely just hiding outside the default "last 90 days" view. A quick filter adjustment usually solves the problem.
In the PayPal Mobile App
If you're managing things on the fly, the PayPal mobile app makes finding a transaction ID a breeze. The process mirrors the website but is streamlined for a smaller screen.
Just open the app and tap on your main balance or wallet. You’ll immediately see your recent activity. Tapping on any transaction will pull up all its details, and the Transaction ID will be right there, easy to spot and copy.
Pro Tip: When a customer is struggling to find their transaction ID, telling them to check the mobile app is often the quickest path to success. The layout is so intuitive that the ID is practically impossible to miss.
In Your Email Receipts
This is easily the most overlooked method, but it’s often the simplest. Every time money moves in or out of your account, PayPal sends a confirmation email to your registered address.
These emails aren't just notifications; they're official records of the transaction. Simply open the email receipt for the payment you're investigating. You'll find the Transaction ID clearly labeled, usually near the payment amount and the other party's information. A quick search in your inbox for "PayPal receipt" or the customer's name will almost always bring it right up.
This trick is incredibly handy when you need the ID for a dispute but can't log into your account right away.
Where to Find Your PayPal Transaction ID
Need to find that ID in a hurry? This table breaks down the quickest way to get it on each platform.
| Platform / Method | Navigation Steps | Key Takeaway |
|---|---|---|
| PayPal Website | Log in → Click 'Activity' → Select the transaction | The most detailed view, perfect for desktop users. |
| PayPal Mobile App | Open app → Tap 'Wallet' → Select transaction | Ideal for quick lookups and on-the-go management. |
| Email Receipt | Open your inbox → Search for "PayPal receipt" | A fast, reliable method without needing to log in. |
Each method gets you to the same piece of information, so just use whichever one is most convenient for you at the moment.
A Developer's Guide To The PayPal API
Manually looking up transaction IDs is fine when you're just starting out, but it hits a wall fast. For any developer building a serious application, automating this process with the PayPal REST API isn't just a nice-to-have; it's essential for scaling up. It’s how you turn a clunky, manual payment verification task into a smooth, automated workflow that just works.
Let's move past the theory and get practical. By fetching transaction details programmatically, your app can confirm payments on its own, instantly unlock features for paying users, and maintain a rock-solid audit trail. No more manual checks.
This visual guide breaks down the common ways a user might find their transaction ID, which is often the starting point for your automated lookup.
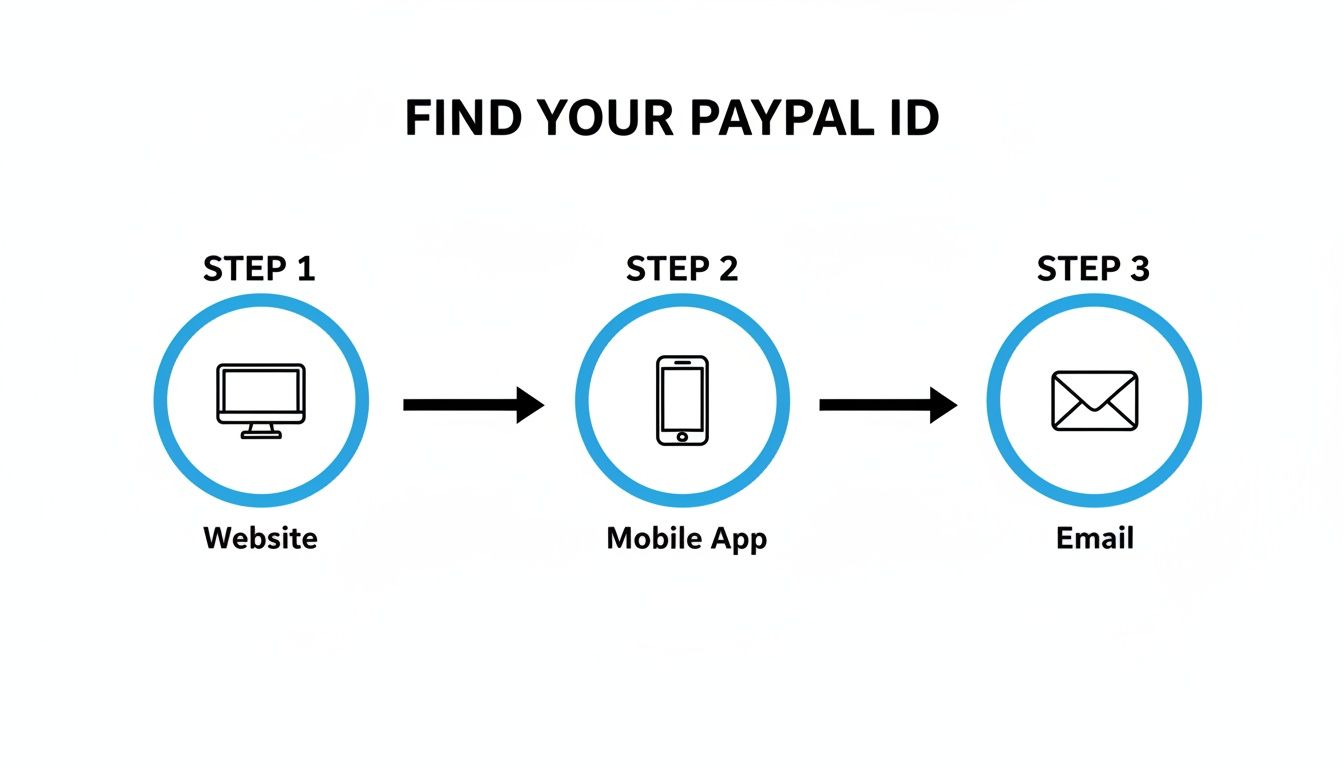 Infographic showing a three-step process to find your PayPal ID: Website, Mobile App, and Email.
As you can see, the ID is pretty easy for your customers to find, which means they can quickly give you what you need to kick off an API call.
Getting Your API Credentials Set Up
Before you can write a single line of code that talks to PayPal, you need to get your credentials. This is the security handshake that proves your application has permission to access your account's transaction data.
- Log into the PayPal Developer Dashboard: This is your command center for everything API-related.
- Create a New App: Head over to the "My Apps & Credentials" section. You'll want to create a new REST API app. Give it a descriptive name you'll recognize later, like "MyApp Payment Verification."
- Grab Your Client ID and Secret: Once you create the app, PayPal will generate a unique Client ID and a Client Secret. These are your keys to the kingdom. Guard them carefully. Store them securely as environment variables in your project and never expose them in your front-end or client-side code.
Think of these credentials as a password for your application. They authenticate every request you make.
Pro Tip: The sandbox environment is your best friend. Seriously. Always test your integration from top to bottom using sandbox credentials before you even think about switching to your live ones. This lets you work out all the kinks without touching real money, saving you from potentially expensive mistakes.
Crafting the API Request
With your credentials ready, you can start building the API request. The first thing you'll need is an access token. You get this by sending a POST request to PayPal's token endpoint with your Client ID and Secret. That token then goes into the header of all your subsequent API calls to authenticate them.
To actually look up a transaction, you'll make a GET request to the /v2/payments/captures/{capture_id} endpoint. Just swap {capture_id} with the actual transaction ID you're verifying.
If you're building a mobile app, perhaps with a starter kit like AppLighter, plugging this logic into a React Native environment is pretty straightforward. Here's a quick look at what that might look like using fetch:
// A conceptual example for fetching transaction details async function getTransactionDetails(transactionId, accessToken) { const PAYPAL_API_URL = 'https://api-m.sandbox.paypal.com'; // Start with the sandbox URL!
try {
const response = await fetch(${PAYPAL_API_URL}/v2/payments/captures/${transactionId}, {
method: 'GET',
headers: {
'Content-Type': 'application/json',
'Authorization': Bearer ${accessToken},
},
});
if (!response.ok) {
  throw new Error(`API call failed with status: ${response.status}`);
}

const data = await response.json();
console.log('Transaction Status:', data.status); // e.g., 'COMPLETED'
console.log('Amount:', data.amount.value); // e.g., '19.99'
return data;
} catch (error) { console.error('Failed to fetch transaction details:', error); } }
This snippet shows the basic structure. When the call is successful, the API sends back a JSON object packed with useful info, like the payment status (e.g., COMPLETED), the amount, and some payer details. Your app can then parse this response to confirm the payment was successful and move the user to the next step.
And make no mistake, automation is critical. The sheer volume of payments processed by PayPal is staggering. In the first quarter of 2024 alone, they handled roughly 6.5 billion payments. This incredible scale, which you can read more about in Statista's report on PayPal's payment volume, underscores why a reliable, automated transaction ID lookup is a must-have for any app dealing with payments.
Using Transaction IDs To Handle Disputes And Refunds
 Customer service agent wearing a headset, looking at a computer screen displaying 'Resolve Disputes'.
When a customer issue inevitably lands in your inbox, that PayPal transaction ID is your best friend. It’s the single piece of information that cuts through the noise and turns a vague complaint into a specific, trackable event. Without it, you’re just digging through a pile of payments, trying to guess which one they’re talking about.
Let’s say a customer says they never got the digital product they bought from your app—a classic headache for developers. The very first thing you should ask for is the transaction ID. Once you have that 17-character string, you can run a quick PayPal transaction ID lookup and get right to the facts.
This ID is the concrete proof of that specific purchase. It clears up any confusion, especially if the customer has bought from you before. In seconds, you can see the exact date, time, amount, and payment status, giving you everything you need to start figuring out what went wrong.
Navigating The PayPal Resolution Center
When a customer files a formal dispute, everything moves over to the PayPal Resolution Center. Here, the transaction ID is the key to the entire case. Every time you respond, you'll reference this ID to keep everyone on the same page.
Your job is to clearly explain your side of the story, backed up by solid evidence. You need to prove you held up your end of the deal. In a real-world dispute, your response might look something like this:
- Stick to the facts: Start with something like, "We received payment for [Product Name] on [Date], which is confirmed by transaction ID [Insert ID Here]."
- Show your proof of delivery: For a digital item, this could be anything from server logs showing a successful download to a copy of the email with the access key.
- Keep it professional: The customer might be upset, but your communication needs to stay calm and factual. Address their specific claim without getting emotional.
A well-documented response built around the transaction ID is your strongest asset in a dispute. It takes the emotion out of the equation and forces everyone to focus on the data.
Why This Matters At Scale
Getting a handle on disputes isn’t just good housekeeping; it's crucial for any online business. PayPal is a giant in the industry, holding over 45% of the online payment processing market and serving 436 million active accounts. You can find more details on these figures over at chargebacks911.com.
For developers using platforms like AppLighter to build and sell their products, this means having a rock-solid process for handling disputes is non-negotiable. It’s a core part of scaling your operations.
A clear, efficient process for using transaction IDs builds trust and protects your revenue. It shows your customers that you’re professional, organized, and ready to solve problems, which is exactly what a great customer experience is all about.
Common Lookup Problems And How To Fix Them
Even something as simple as a PayPal transaction ID lookup can hit a snag. When you're trying to track down a specific payment, a small hiccup can be incredibly frustrating. The good news is that most of these issues are pretty common and usually have a straightforward fix.
One of the most frequent things I see is a transaction that seems to have completely vanished from the activity log. Before you start to worry, the first thing to check is your date filters. By default, PayPal often shows only the last 30 or 90 days of activity. If the payment you're looking for is older than that, it's hiding in plain sight—you just need to expand the date range to find it.
Invalid Or Unrecognized Transaction IDs
Another classic headache is getting an "invalid ID" error message from PayPal. Nine times out of ten, this is just a simple copy-and-paste mistake. A real PayPal ID is a 17-character alphanumeric string, and it's surprisingly easy to miss a character or accidentally add a space at the beginning or end.
Always double-check the ID you're working with. If it came from a customer, ask them to copy it directly from their official email receipt to eliminate any chance of a typo. It's also not uncommon for a customer to mistakenly send you an order number from your own e-commerce system instead of the actual PayPal ID. A quick confirmation of the format can save a lot of time.
Pro Tip: If a customer swears the ID is correct but it's still not working, just ask for a screenshot of their PayPal receipt. This lets you visually confirm the ID and other details, often clearing up the confusion in a matter of seconds.
Common API And Developer Errors
For those of you working with the PayPal REST API, the potential for error is a little wider. A failed lookup here often points to a technical issue that requires a more specific troubleshooting approach.
Here are the API-related problems that pop up most often:
- Authentication Failure (
401 Unauthorized): This almost always means there's a problem with your API credentials. Your access token may have expired, or your Client ID and Secret might be wrong. The first step should always be to generate a fresh access token before retrying your request. - Incorrect Permission Scopes: Your API application needs to be granted the right permissions to see transaction details. If your app's scope is too narrow, PayPal will block the request even if your credentials are valid. Dive into your app settings in the Developer Dashboard and make sure the necessary permissions are toggled on.
- Using Live IDs in Sandbox (or Vice Versa): This is a developer rite of passage. The API endpoints for the live and sandbox environments are completely separate. If you try to look up a real, live transaction using the sandbox URL, it will fail every time. Make sure your code is pointing to the correct environment for the ID you're using.
Common Questions About PayPal Transaction IDs
Even with a step-by-step guide, it's natural to have a few questions when you're digging around for something as specific as a PayPal transaction ID. Let's tackle some of the most common ones I hear, so you can handle your payments with complete confidence.
What Does a PayPal Transaction ID Look Like?
A standard PayPal transaction ID is a 17-character alphanumeric string. That means it's a unique mix of letters and numbers created just for that one transaction.
You won't find any special characters like dashes or underscores in it. If you've found a code that doesn't fit this 17-character format, you're probably looking at a different reference number, like an invoice ID or a subscription number. Those are useful, but they serve different purposes.
Do Transaction IDs Ever Expire?
Nope, never. A transaction ID is permanent. Think of it as a fixed part of the historical record for that specific payment.
This is incredibly useful because you can perform a PayPal transaction ID lookup for a payment that happened five minutes ago or five years ago—the ID will always be valid and point to that exact event. This archival quality is what makes it so reliable for long-term bookkeeping, digging up old disputes, or just auditing your financial history.
A transaction ID is the permanent, unchanging fingerprint of a payment. It’s built to be a stable reference point that you, your customer, and PayPal can rely on forever.
Is It Safe to Share a Transaction ID?
Yes, it's generally safe to share a transaction ID. This string of characters doesn't reveal any sensitive personal or financial details, like your credit card number or bank account information.
In fact, sharing the ID is often a necessary part of getting things done. A seller might need it to find your payment to process a refund, or a customer service agent might ask for it to confirm a purchase. The key is to be smart about who you share it with.
- When it's okay: Sharing it with a merchant through their official support channel or with PayPal's Resolution Center is standard and safe.
- When to be cautious: Watch out for unsolicited emails or messages asking for an ID. Scammers sometimes create fake transaction details in phishing emails to make you feel a sense of urgency and click a bad link.
When in doubt, always verify you're communicating through an official channel. If a request feels fishy, it’s much safer to log into your PayPal account directly and check on the transaction yourself instead of clicking a link in a random email.
Ready to build your mobile app faster without wrestling with boilerplate code? AppLighter provides a production-ready starter kit for Expo and React Native, complete with all the essentials wired up so you can focus on building your core features. Check it out at AppLighter.com.
Related Articles

A Developer's Guide to Google Sheet REGEXMATCH
Unlock the power of Google Sheet REGEXMATCH. This guide offers developers practical examples for data validation, filtering, and text manipulation.

TestFlight on Android: Why testflight on android Isn't Available
Curious about testflight on android? It doesn't exist. Learn best Android-friendly alternatives like Google Play and Firebase for React Native and Expo apps.

Google Sheets Replace A Practical Guide to Data Transformation
Master Google Sheets replace functions. Learn to use Find and Replace, formulas like REGEXREPLACE, and Apps Script for efficient data cleaning and bulk updates.